Thursday, 30 October 2014

Slow Cooker Oatmeal


Breakfast has always been difficult in our house.

Partly because our dog needs 45-60mins of walking every morning and partly because neither of us are particularly 'early birds', we never ever have time to make and consume breakfast before going to work. Shocker!

Conscious of the old saying that breakfast is "the most important meal of the day", I set about correcting this and I think my slow cooker oatmeal is the perfect solution. Just bung it in before going to bed and you'll wake up to a bubbling pot of loveliness. Of course, one of the most appealing bits of this recipe is that you can flavour it with just about anything, so I will never get bored of it. (Well, I hope not anyway!)


I've said before that I have a bit of a 'thing' for the texture of my food. I do like 'ordinary' porridge, but I also find it can sometimes be like a bowl of slop devoid of any real texture of flavour. So, in this breakfast I use pinhead oatmeal instead. Sometimes called coarse oatmeal or steel cut oats, it is the whole oat that has just been cut into pieces rather than being 'rolled' into the shape of your everyday porridge oat.


This means that pinhead oatmeal is a whole grain and we all know that means it's better for you, right? That aside, it has a more coarse texture with more body to it than a standard porridge and tastes nuttier too. Finally, it takes longer to cook so is perfect for slow cooking! Are you sold yet?

The recipe below is for an unflavoured oatmeal, but you can add all kinds of things to flavour it. The pictures in this post show a couple of variations:
  • Apple and Cinnamon; Add 1 peeled, cored and sliced apple and 2 tsp of cinnamon before cooking. Substitute the sugar for brown sugar too.
  • Pear and Almond: Add 1 peeled, cored and sliced pear, 1 tsp of almond essence and a handful of slivered almonds before cooking.

There are loads more combinations too. How about blueberry and vanilla? Or perhaps raisin and spice? Let me know if you have any other suggestions in the comments below!

If, like me, you still don't have time to eat this at home then you need a food flask... I just load mine up before I leave and it's the perfect temperature to eat when I get to work.


print recipe

Slow Cooker Oatmeal
A healthy, hearty and simple breakfast that will keep you going 'till lunch.
Ingredients
  • 1 cup pinhead oatmeal
  • 3-4 cups liquid (can be all water, all milk or a mix of the two)
  • 1/4 cup sugar (any kind you like!)
  • Assorted flavourings and/or toppings
Instructions
1. If required, put your liquid into a bowl and heat in a microwave for around 4 mins until hot. (Whether you need to do this depends on your slow cooker).2. Mix the oats, sugar and any flavourings you want in the slow cooker pot.3. Pour over the liquid, stir to combine and then cook on low overnight.4. In the morning, sprinkle with any toppings you like and enjoy!
Details
Prep time: Cook time: Total time: Yield: 3-4 servings, depending on appetite.

As with all slow cooker recipes, it is really important for you to get to know your own slow cooker. Experiment with timings and the temperature of the ingredients to get the best results for you. I use my little Tower compact 1.5l slow cooker which I'm told is 30-40 years old and need to heat my liquid before starting it off but many slow cookers will be fine to cook from cold.

I am entering this recipe into the November Slow Cooked Challenge hosted by FarmersGirl Kitchen!

Saturday, 25 October 2014

White Chocolate & Macadamia Blondies

If you are a fan of baking and have an account on Twitter, chances are you already know about Sunday Bake Club. However, if you've been living under a rock or have just missed it somehow, you really should check it out! The basic idea is that we all come together to bake things on a Sunday. The SBC usually specify a theme for everyone to bake to and then everyone goes to town. As you'll already know, I LOVE to bake anyway but I really enjoy the idea of everyone coming together and cooking to a theme on one day. It builds a real community on Twitter and I've met loads of fantastic bakers and bloggers though it.

Anyway, why am I going on about this baking club thingy? Well, today's theme is chocolate and since I am a bit of a chocoholic I just HAD to take part today. So, whilst laying in bed this morning (I was awake extra early because of the clocks going back!) I devised a recipe for these gooey blondies. They're like chocolate brownies but are made with white chocolate; my version contains macadamia nuts and is topped with a white chocolate ganache before being finished with a little flourish of dark chocolate and a few of the chopped nuts.


I'm afraid they look rather messy as I didn't have quite enough time to let the ganache set properly as the light was fading fast and I wanted to get some half decent pics for you! I don't really mind though, I like the oozing white chocolate and it helps to cover any imperfections.


So many people have asked me for the recipe for these on Twitter, so I've had to type up this post in double quick time to make sure they all get it. Without further ado, here's that recipe:

print recipe

White Chocolate & Macadamia Blondies
A twist on the classic chocolate brownie, these blondies contain white chocolate and have added macadamia nuts for crunch.
Ingredients
  • 3 medium eggs
  • 275g golden caster sugar
  • 200g white chocolate
  • 185g butter/baking spread
  • 125g plain flour
  • 100g macadamia nuts, chopped
  • For the topping:
  • 200g white chocolate
  • 200g double cream
  • A few macadamia nuts, chopped
  • 50g dark chocolate (optional)
Instructions
1. Start by making the ganache. To do this, chop the chocolate finely and place in a heat-proof bowl. Heat the cream in a saucepan until just boiling then remove from the heat. Once the cream stops boiling pour over the chocolate and DO NOT STIR for 30 secs. Begin to stir the mixture very slowly until all is combined then set aside to cool.2. Warm the chocolate and butter together in a microwave at a low setting until melted completely and set aside to cool down slightly. 3. Next, crack the eggs into the bowl of a mixer and add in the caster sugar. Beat the two together until the mixture doubles in size and becomes pale and frothy. Pour in the chocolate and butter mixture whilst mixing slowly and combine fully.4. Sift in the flour and fold into the mixture, taking care to avoid knocking the air out. Add the macadamia nuts at the last minute and give the mixture a couple of turns to distribute them throughout.5. Pour into a prepared brownie tin and bake in the oven at 180ºC for 20-30 mins or until golden brown on top and mostly cooked inside. (Everyone has a different preference for their blondies, cook a bit less for a gooey centre and a bit longer for fully-cooked throughout.)6. Once baked, remove from the oven and allow to cool in the tin fully.7. By now, the ganache should have cooled enough to pour over the blondies. Make sure it covers them well, then top with the chopped macadamia nuts and pop into the fridge for around an hour to set.8. Cut into pieces, then drizzle with melted dark chocolate if desired. Enjoy!
Details
Prep time: Cook time: Total time: Yield: 12 blondies

For more tray-baked goodies, check out my board on Pinterest:

Tuesday, 21 October 2014

Apple and Blackberry Crumble Bundtlettes

Well, the nights are getting longer and I am getting up in the dark; this can only mean one thing, Autumn is here! I actually really love Autumn with the pretty leaves on the trees, crisp mornings and the start of the comfort food season.


Nothing says 'comfort food' to me like a good old apple crumble. I had a massive craving for one today but only had one apple in the fruit bowl. I did think about making a mini version just for me but I don't think Chris would have been very happy with that idea!


So, with a little bit of vision and a minimal amount of head scratching these cute little Bundtlettes were born! They are apple and blackberry cake, spiced with cinammon and drizzled with blackberry glacé icing. The finishing touch is a delicious crumble topping.


Texture is a really important part of the eating experience for me. No matter how good a meal looks and tastes, if the textures are off then I will not enjoy it. With that in mind, I like to make sure my cakes have a range of textures; crumble is excellent for this as it adds a great crunch in contrast to the soft cake.

I think these cakes are really versatile. They would be perfect served in the afternoon with a big pot of tea, but they could also be a brilliant dessert with a little bit of creme fraiche or even custard!

A note on tins: I've used a Nordic Ware Heritage Bundtlette Pan for this bake. I LOVE using Nordic Ware because, quite simply, I think it is the best! The pans are super heavy and have a great non-stick coating; for making sure you have a consistently good bake every time, I don't think they can be beaten. You can buy this tin from Kitchens Cookshop, where the service is great and they stock a lot of Nordic Ware!

print recipe

Apple and Blackberry Crumble Bundtlettes
Sweet and fruity little cakes, spiced with cinnamon and topped with a crunchy crumble.
Ingredients
  • 7oz self-raising flour
  • 7oz baking spread
  • 7oz light muscovado sugar
  • 3 medium eggs
  • ½ tsp baking powder
  • ½ tsp ground cinnamon
  • 1 apple; peeled, cored and diced. (I prefer Granny Smith)
  • 150g blackberries, reserve around 10 for the icing and to serve
  • For the crumble topping:
  • 2oz self-raising flour
  • 1oz light muscovado sugar
  • 1½oz butter
  • 1oz porridge oats
  • For the glacé icing:
  • icing sugar
Instructions
1. Preheat the oven to 160ºC then start by making the crumble mix for the top by rubbing the flour, butter, oats and sugar together until they resemble breadcrumbs and tip into an oven-proof dish. Bake for around 15 mins, stopping to mix and level out the mixture every 5 mins to ensure it cooks evenly. When done, remove and leave to cool completely.2. Measure out the flour, then remove 3 tbsp and sprinkle over the chopped apple and blackberries. Mix until the fruit is completely coated; this helps to stop them from sinking.3. Add the rest of the cake ingredients apart from the fruit to the flour and mix well until completely combined. Fold through the apple and blackberries, ensuring they are well distributed.4. Transfer the mixture to a prepared tin (I spray with cake release and sprinkle with flour to prepare my tins).5. Bake at 160ºC for 30-40mins or until a skewer pierced into the cake comes out clean and it springs back when lightly pressed on top.6. Leave to cool in the tin for 15 mins and then turn out onto a cooling rack and leave to cool completely.7. In the meantime, make the icing by pressing around 5 of the reserved blackberries through a sieve to collect just the juice. Add icing sugar to this until a thick but pourable consistency is reached; how much you'll need depends on how juicy your blackberries are, so I've not specified an amount here. 8. When the Bundtlettes are completely cold, drizzle with the icing and sprinkle with the crumble topping. Serve with the remaining blackberries.
Details
Prep time: Cook time: Total time: Yield: 6 Bundtlettes

For more great bundt cakes, take a look at my Pinterest board: 'Does my Bundt look big in this?!'

Follow Kevin Chambers-Paston's board Does my #Bundt look big in this?! on Pinterest.

I am entering this recipe into the Love Cake challenge with JibberJabberUK. This month the theme is 'Dark' and there's nothing darker than BLACKberries, right?

Love Cake logo

Saturday, 18 October 2014

Spiced Pumpkin Cake In a Jar

This is the last of my Halloween themed posts with Kilner and probably my favourite of the three!


These little cakes are really tasty and an excellent way to use the flesh of a pumpkin. They taste a little like a carrot cake, especially with the cream cheese frosting, but with a slight pumpkin twist.


Just like the chutney, if you don't have any pumpkin you can use butternut squash to make these cakes and they will still be delicious! There are many different ways these can be decorated too. I tried to keep it simple and went for violet crystals and a cute little wooden spoon tied on with some string, but you could really go to town on these with halloween themed labels, toppers and more!


The cake pictured is in a 0.35l Kilner Jar and really could serve two. However, you could use smaller jars for an individual portion and really make guests feel special!

print recipe

Spiced Pumpkin Cake In a Jar
A spicy but sweet cake that's perfect for Halloween celebrations!
Ingredients
  • 2 medium eggs
  • 4oz self-raising flour
  • 4oz baking spread or butter
  • 4oz caster sugar
  • 250g (peeled weight) pumpkin flesh, grated
  • 1.5 tsp mixed spice
  • 1/2 tsp vanilla extract
  • 1.5oz softened butter
  • 3.5oz cream cheese, cold
  • 7oz icing sugar
  • A small amount of orange or red and yellow food colouring
Instructions
1. Some pumpkins may be wetter than others. If yours has a lot of excess moisture, squeeze it between your hands to remove some of the water before step 2.2. Beat together the eggs, flour, baking spread, sugar, grated pumpkin, mixed spice and vanilla until well combined. Spread over a prepared flat tin to bake as one large sheet. (I used a 34cm x 20cm brownie pan.)3. Place into the oven at 150ºC. How long it takes will vary wildly depending on the moisture in the pumpkin and the size of the tin. Start at 20 mins and check every 5 mins until done. The cake is ready when it is coming away from the sides and a skewer comes out clean when inserted into the middle of the cake. Once removed, leave in the tin to cool for 10 mins before turning out and leaving to cool completely.4. Whilst waiting for the cake to cool, make the frosting by combining the cream cheese and butter until fully mixed. Gradually add in the icing sugar until a smooth, thick consistency is reached. At this point, add colouring if you wish. Place in the fridge to thicken and chill.5. Using a cookie cutter, cut out circles of cake that will fit inside your jars and layer up, piping or smoothing some frosting between every layer as you go.6. Once you reach the top of the jar, add a final layer of frosting and decorate as desired. Eat immediately or store sealed in the fridge for up to 2 days.
Details
Prep time: Cook time: Total time: Yield: Around 4 portions of cake, depending on jar size

I am entering this bake into the following:


Wednesday, 15 October 2014

1000 Juices, Green Drinks and Smoothies

I've recently started to dip my toes into the world of juices and smoothies and I feel a little unsure about which fruit and veg will combine to make a juice that is still somewhat edible! So, I was trilled when Quarto Publishing asked if I would review "1000 Juices, Green Drinks and Smoothies" by Deborah Gray. I was even happier when I received it and saw what a great book it is.


The book kicks off with an introduction that is excellent for a beginner like me as it assumes no prior knowledge of preparing these drinks. It explains equipment and techniques very well and also has notes on lots of different fruits, vegetables and other ingredients; giving tips on how to prepare and enjoy them and also listing health benefits. 

I really like the concept behind the recipes; in each section there are multiple 'base' recipes, each with suggested variations. These usually involve adding, removing or replacing certain ingredients to give a different flavour or health benefit. It's a great idea as it promotes understanding of what can be changed and combined to make your own unique juices.


As a food blogger, I really appreciate the beautiful photography present on every double page of the book. It makes my mouth water to just flick through the pages!

The first juice I tried from the book was the 'Apple Salad Juice' which is labelled as a Super Energy Booster; they're not kidding! It really packs a punch and is a delicious juice, perfect as a pick me up if you're feeling a little lethargic.

All in all, I'd give this book a very well deserved 9/10 !


I also received an Optimum 600 Whole Fruit Juicer last week. Is that perfect timing or what?! I used this to prepare the juice and it was really fantastic. I was so excited I made a little video so you can see the new baby in action. Hope you like it!


The Optimum 600 has just been released in the UK after taking Australia by storm. It is a 'slow juicer', also sometimes labelled a 'masticating juicer'. As the name suggests, it works by crushing or 'chewing' the fruit and veg then pressing through a fine mesh to separate the juice from the pulp. As a result, you can end up with as much as 50% more juice than a centrifugal juicer!

For me, the 600 is the ultimate juicer due to it's ability to juice WHOLE fruit and veg. Just watch it munch through whole apples, a pepper and even a whole cucumber! This makes it so easy to create a quick juice with minimum fuss. The icing on the cake is that it washes by just running under a tap. Awesome!


If you'd like to get your hands on an Optimum 600, Froothie have given me a code for my readers to get £50 off! Just click here to order and enter the code "50GBPOFF" at checkout.

The kind people over at Quarto Publishing have allowed me to publish the recipe for the Apple Salad Juice so you can see how great the recipes are before you buy the book!

print recipe

Apple Salad Juice
The combination of the acidic sweetness of apples blends particularly well with the earthiness of vegetables. Apples are great for anyone who is feeling run down and they can have an invigorating effect on the skin. These are great starter drinks for those unsure about drinking vegetable juices.
Ingredients
  • 4 apples
  • 15 baby spinach leaves
  • 1 orange or yellow pepper
  • 1 cucumber
  • 1/2 lime, peeled
  • 5cm piece ginger, peeled
  • Pinch nutmeg
  • 1 tsp spirulina powder (optional)
Instructions
Juice the fruits, vegetables and ginger. Stir in the nutmeg. Take 2 tablespoons of this juice and mix it with the spirulina until smooth, then stir into the remaining juice.Handy Tip: If serving to guests, put small pieces of chopped apple dipped in lemon juice on skewers with a few chunks of cucumber and balance them over the top of the glasses.
Details
Prep time: Yield: 2 generous glasses

Check out my Pinterest board for more Shakes, Smoothies and Juices...


DISCLAIMER: I received a copy of "1000 Juices, Green Drinks and Smoothies" and an Optimum 600 Juicer for free to review. I was not expected to write positive reviews and any opinions expressed are my own.

Tuesday, 14 October 2014

Mummy Lantern Jars

This post continues the Halloween theme but today it's crafty rather than foodie!


Aren't these lantern just so cute?! I mean, as cute as anything undead and covered in fake blood spatters can ever be. Still... googly eyes make everything cuter, right?

If you are having a party this halloween or just want to put something in the window that's not a carved pumpkin then these jars are perfect for you. They are so simple to make too, much easier than all that tedious carving!


They are made using 1l Kilner Jars and can be personalised in whatever way you want. I've made 3 different styles to demonstrate but the possibilities are really almost endless. I recommend using a battery-operated tealight inside them as a real one would need the lid to be left open and I prefer the look of them when shut. I got my tealights from the local £1 store! They look really great in the dark...


So, how exactly do you make them? Let me tell you how...

print recipe

Mummy Lantern Jars
Cute mummified lanterns, great as a Halloween display or a party centrepiece.
Materials
  • 1l Kilner Jar
  • A stretch bandage (approx 5cm x 4m stretched length)
  • A pair of googly eyes
  • 1 teabag (optional)
  • Fake blood (optional)
  • Craft glue
Instructions
1. If you want your mummy to have a stained effect, brew the teabag in a small amount of boiling water and allow to cool completely. Dip the bandage in the tea and squeeze out the excess before unravelling and leaving to dry.2. Starting at the bottom, wind the bandage up the jar until it is completely covered. Tuck the top and bottom in, the tension of the bandage should keep it in place.3. Add the googly eyes with some craft glue and leave to dry.4. If desired, fake blood can now be added. You could also dab or rub the bandage with the teabag to develop some darker staining.5. Leave to dry completely before popping in a battery-operated tealight and enjoy!

That's it! So simple, yet so effective. Give it a go and let me know how you get on over on Facebook or Twitter.

Sunday, 12 October 2014

Pumpkin Chutney

I love Halloween.

There's something about the dressing up, the opportunities to have lots of fun and of course the food that goes alongside Halloween that I really like. After all, it's not every day you can dress up like the walking dead and tuck into a pumpkin!

With that in mind, I've started thinking about preparations so this week I'll be sharing a number of posts centred around the 'big day'. I've teamed up with Kilner to bring you two recipes and a crafty project I just know you are going to LOVE.


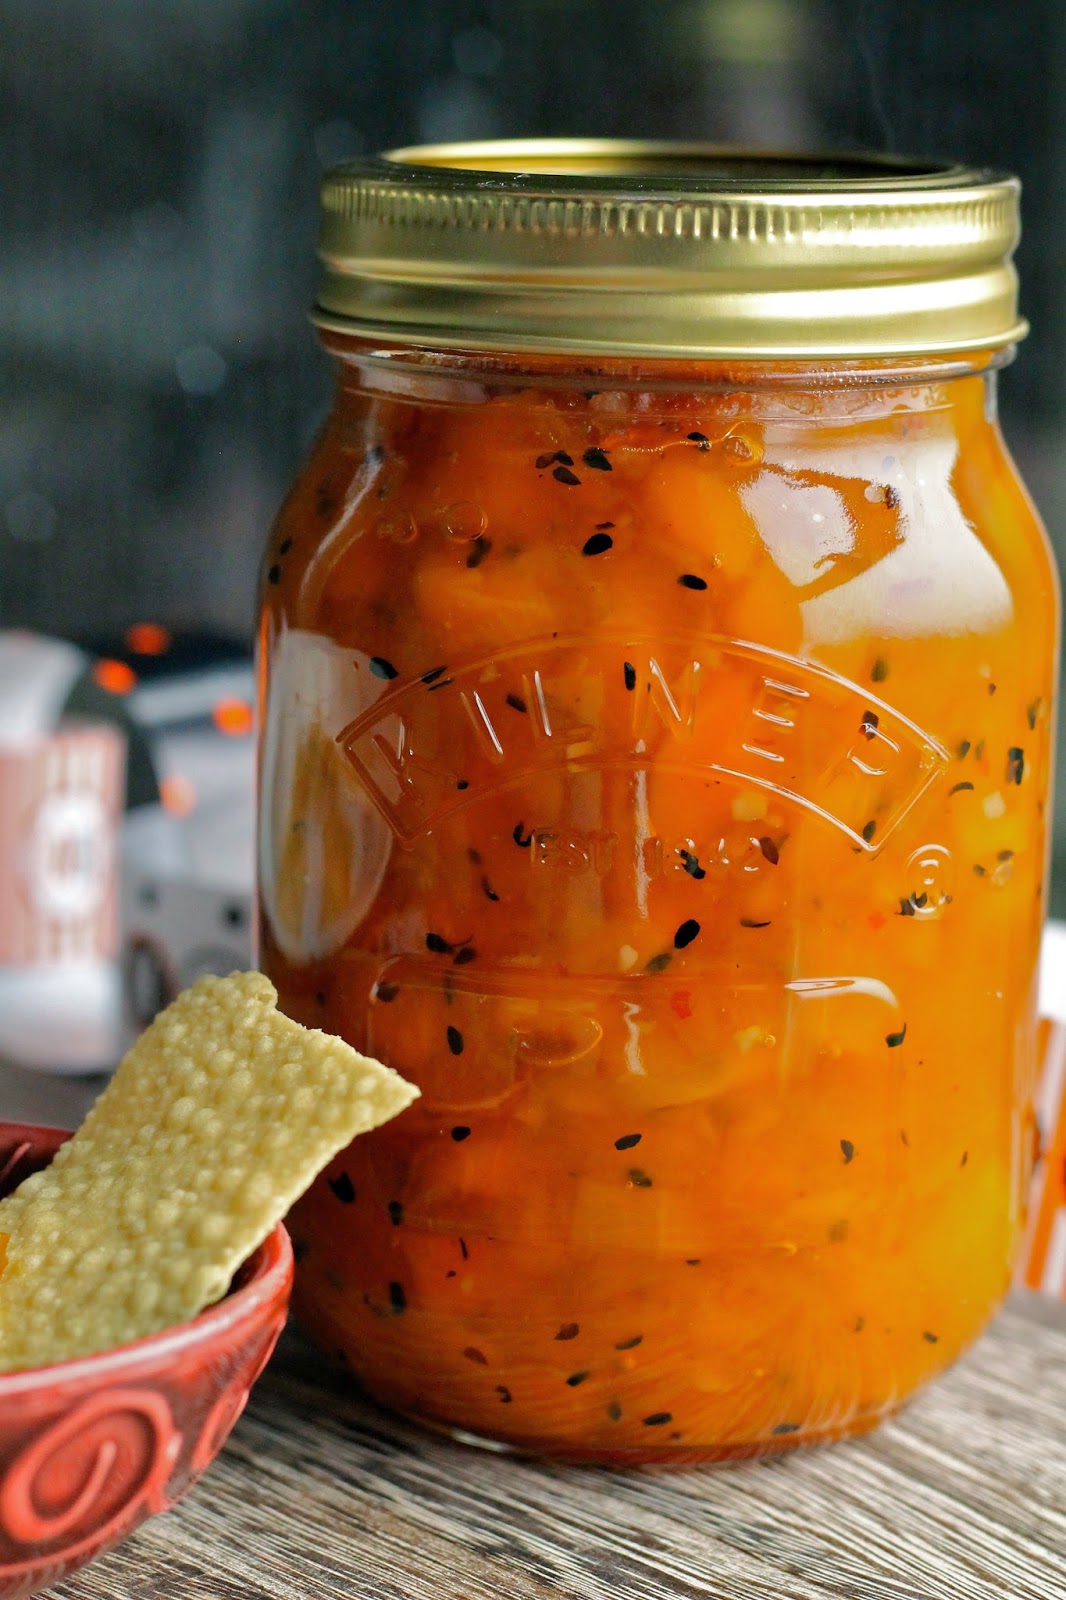
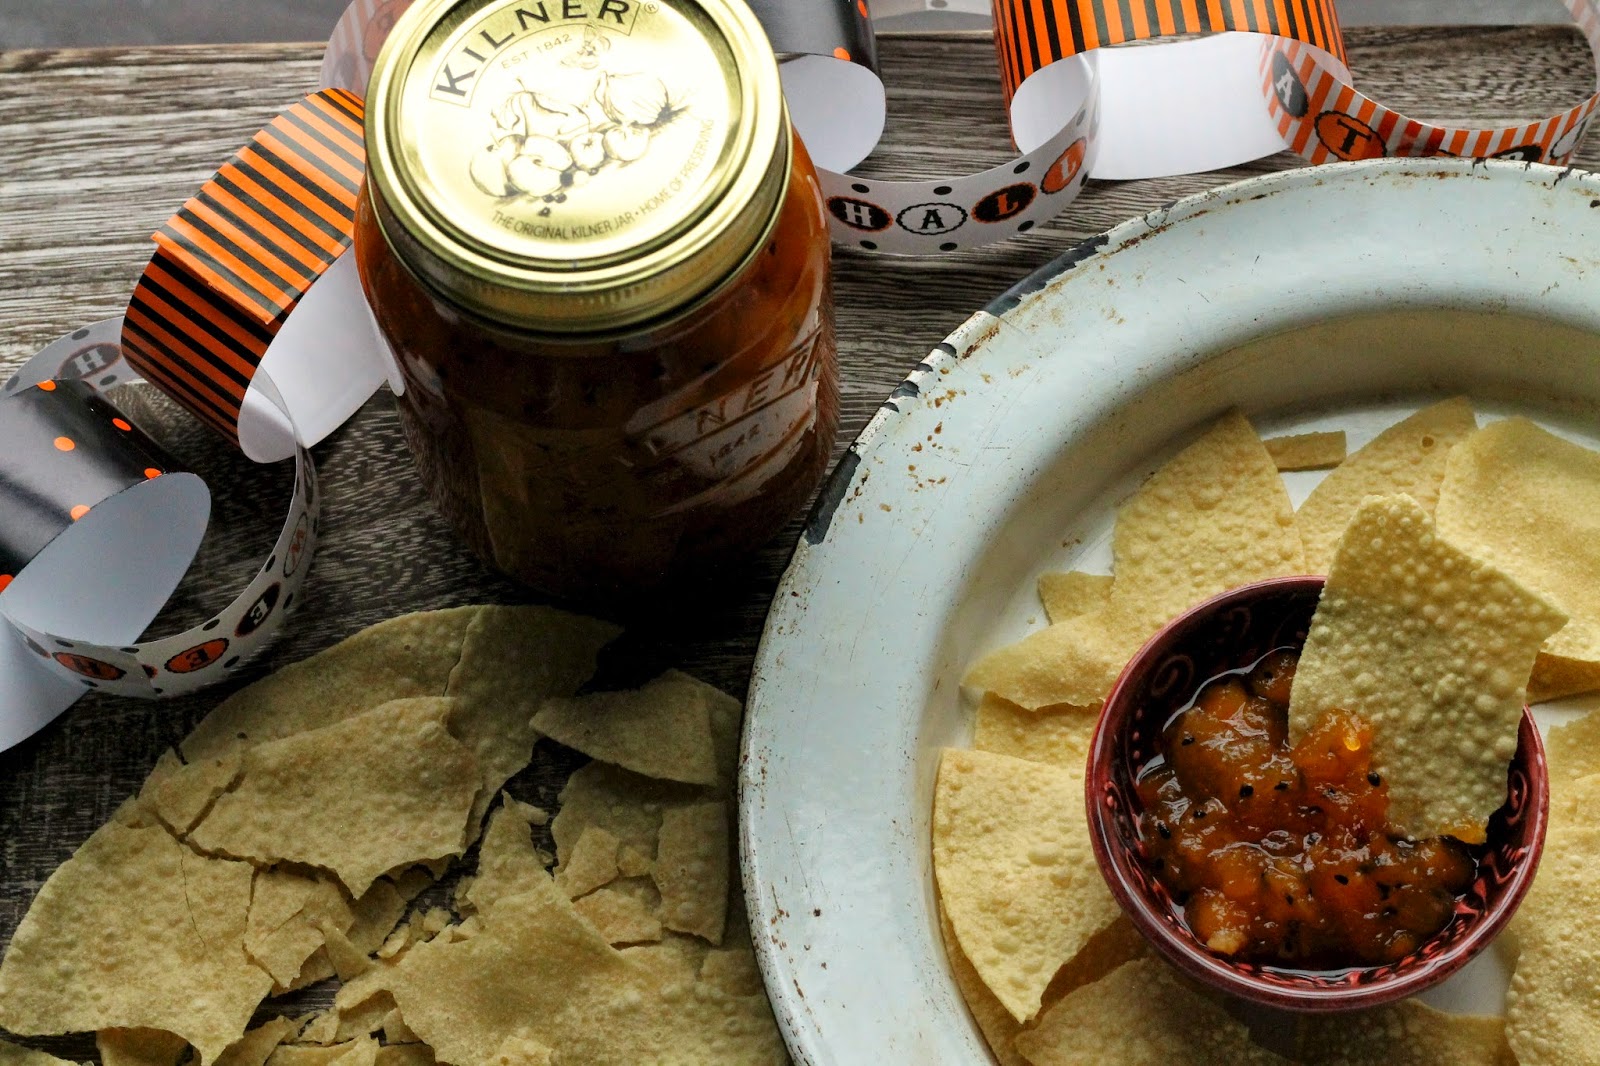
The first recipe for you is a delicious pumpkin chutney. This is a twist on the classic mango chutney and would be great served as a dip at a party or to dip your poppadoms in if you're planning a Halloween curry night. I've shared this one first because it needs a couple of weeks to mature before eating to enjoy it at its best.

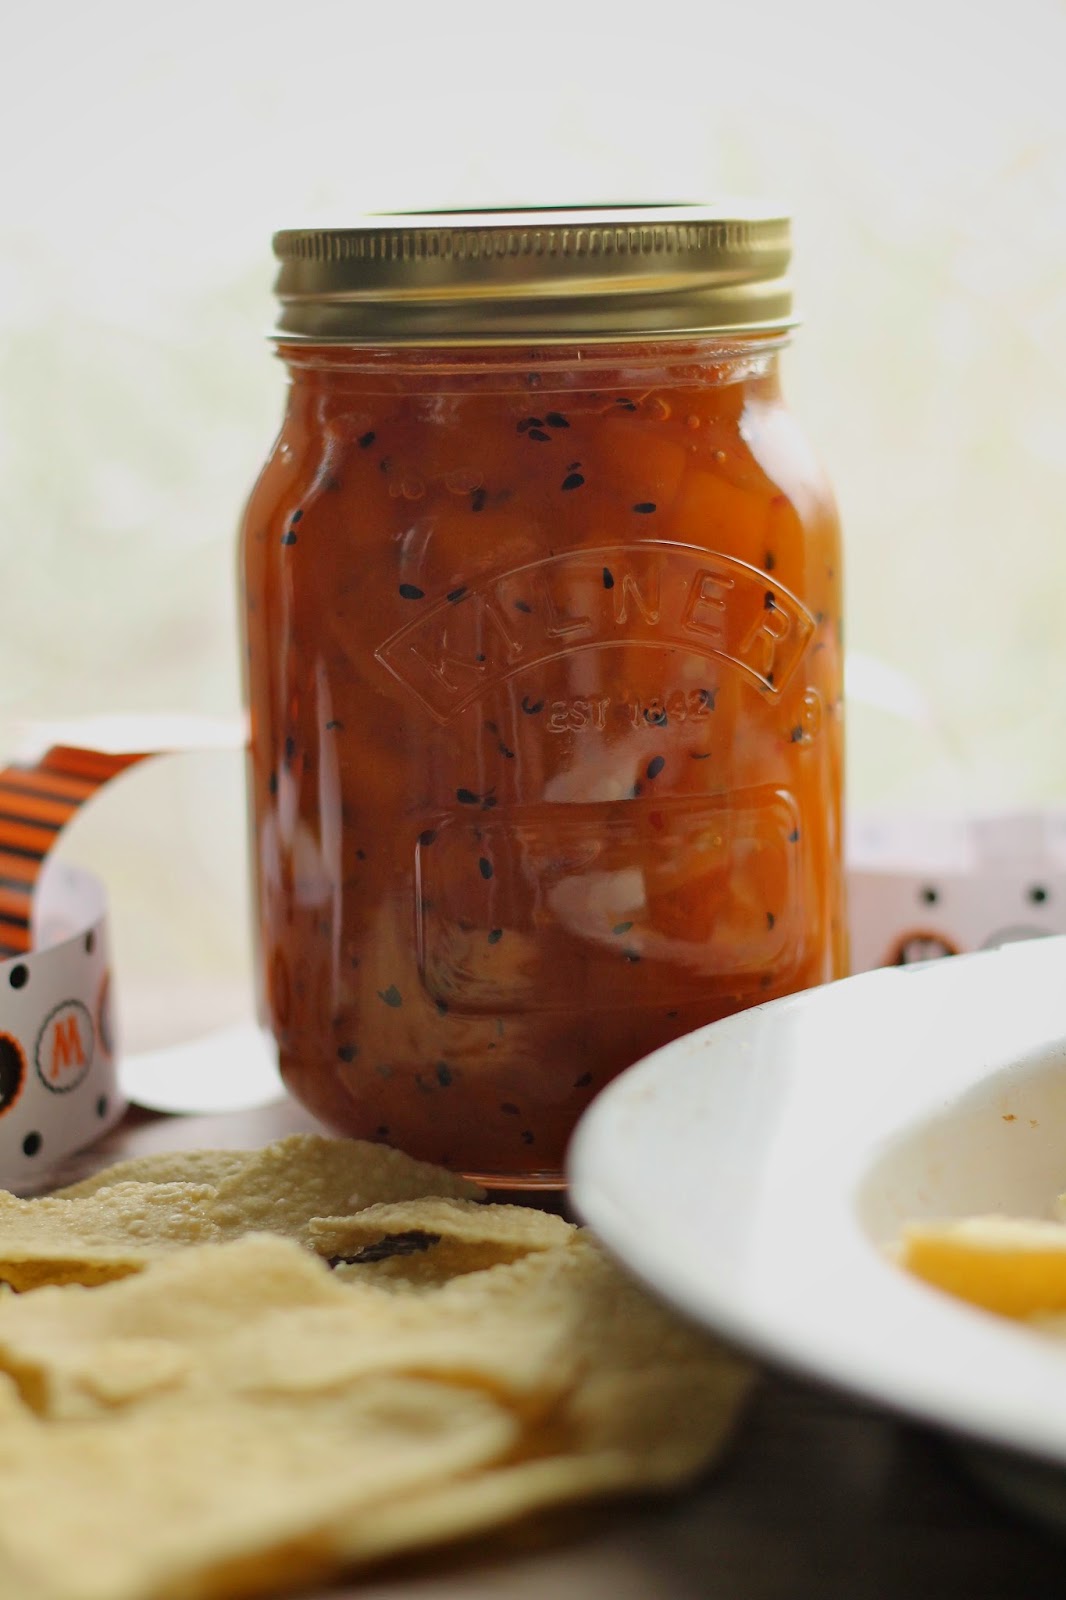
I've used a Kilner Preserve Jar for my chutney, simply because I believe that Kilner offer the best jars available to anyone wanting to try their hand at preserving. They come in all different sizes, so you are sure to find one that will fit any preserving project. I also love the fact that the lid seals are available separately, so the jars can be used again and again. An excellent investment, you'll be preserving in these jars for years to come! Hop on over to the Kilner website for more info.


This chutney is a great way to use up the insides of a pumpkin you've scooped out in order to carve it into a lantern. Otherwise, butternut squash will work just as well and tends to be more flavoursome. The recipe is also very versatile, so if you love one of the ingredients in particular feel free to add a bit more; on the other hand, if you HATE one of them then leave it out (though not the pumpkin, I don't think it would be the same without THAT ingredient!)


For tips on how to sterilise your jars, have a look at the Kilner website again.

print recipe

Pumpkin Chutney
Based on a classic mango chutney, this is sure to go down a storm with a curry at Halloween!
Ingredients
  • 1kg pumpkin or butternut squash, diced (prepared weight)
  • 1 medium onion
  • 1 inch piece ginger, grated
  • 3 cloves garlic, grated/crushed
  • 500g sugar
  • 1 tsp salt
  • 1/2 tsp chilli flakes
  • 3 cardamom pods
  • 5 peppercorns
  • 250ml cider vinegar
  • 1 tsp black onion seeds
Instructions
1. Crack the cardamom pods open to remove the seeds and discard the shells. Grind the seeds, together with the chilli flakes and peppercorns then toast in a preserving pan or other large heavy-bottomed pan until warm and fragrant.2. Add the rest of the ingredients except the sugar to the pan along with 250ml water and simmer over a medium heat for 30 minutes, stirring frequently.3. Add the sugar to the pan and stir until completely dissolved. Leave to simmer for a further hour, stirring every now and then. If the chutney looks too dry, add a little extra water. If too watery, simmer for longer.4. The pumpkin should be tender at this stage, so now you can decide the texture of the finished chutney. Left as it is, it will be fairly chunky but if you want it to be completely smooth, use a blender to puree it. I wanted it somewhere in the middle, so used a potato masher to break down some of the chunks but left some in.5. Pot up into sterilised jars and leave to cool completely. Store for 2 weeks or so before eating to allow the flavours to mature.
Details
Prep time: Cook time: Total time: Yield: Around 1l of finished chutney

Stay tuned for more Halloween fun over the next week!

Thursday, 9 October 2014

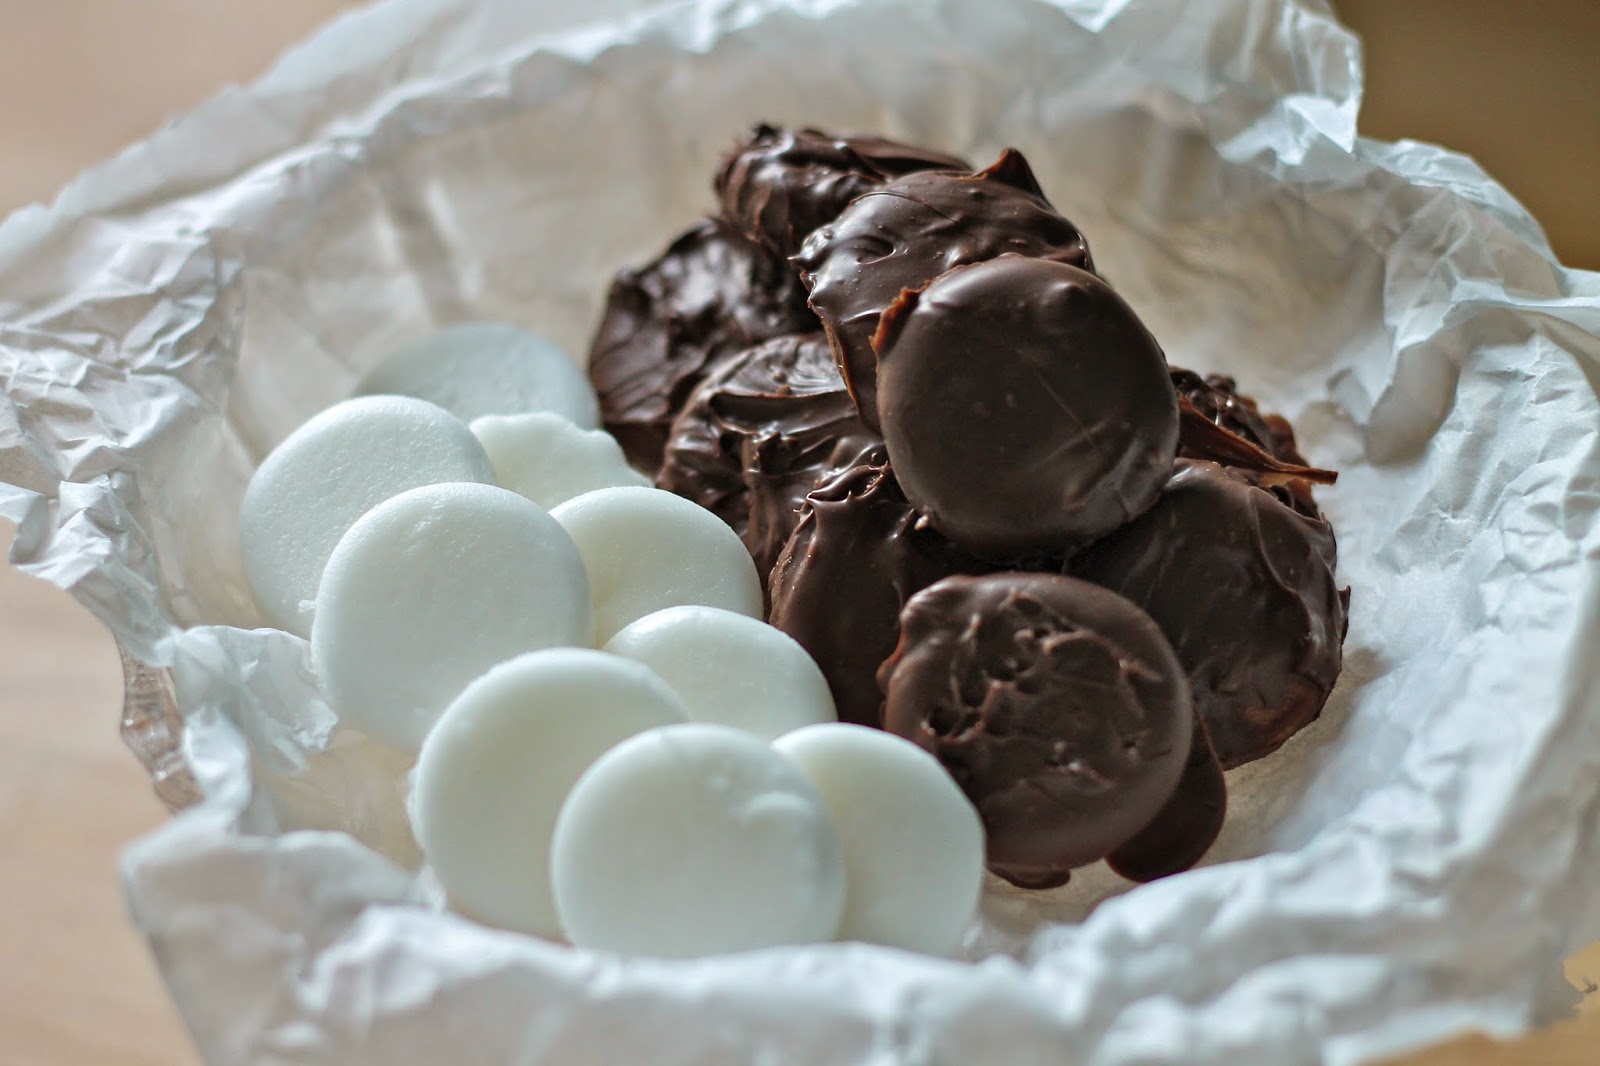
After Dinner Mints

I don't think I could say a big meal is truly finished until I've had a cup of coffee and a lovely little mint on the side. It's no coincidence that these little mints are so popular after dinner; in fact there is a very good reason for it. Peppermint oil is proven to be soothing to the stomach and relaxes the digestive muscles, allowing painful gases to pass easily and preventing flatulence and bloating often associated with a heavy meal. On top of this, the fresh taste serves as a little 'pick me up' and cools the mouth, leaving you feeling refreshed. Magic mints!


Of course, my little mints are dipped in chocolate, because... Well, because everything is improved by dipping it in chocolate, right?!


These make a perfect gift for anyone at any time of the year but they will be especially appreciated during the festive season. With all the large meals and over-indulgence, our digestive systems need all the help they can get! Popped in a little bag or greaseproof parcel, they are a very simple yet pretty gift that is completely hand made.


This recipe is based on a traditional one for peppermint cremes. However, these traditionally contain raw egg white. Not a fan of giving either myself of my friends and family food poisoning, I have developed this version with glucose syrup and water instead and I must say I prefer it. If you are feeling adventurous, you could swap the mint for a different extract; orange cremes covered in dark chocolate are heavenly! You can also pop in a few drops of food colouring if you'd prefer a colour that links with the flavour.

print recipe

After Dinner Mints
The perfect accompaniment to an after dinner coffee. To soothe the stomach and refresh your palette.
Ingredients
  • 250g icing sugar
  • 1/2 tsp peppermint extract
  • 2 tsp liquid glucose
  • 4 tsp water
  • 100g dark chocolate
Instructions
1. In a bowl, mix the glucose syrup, water, peppermint extract and a few drops of food colouring if you wish.2. Add the icing sugar and then use your hands to mix together really well until a smooth, workable dough is formed. If the dough is too crumbly, add 1/2 tsp water and knead well. If it is too wet, add some icing sugar until it is the perfect consistency.3. Dust two sheets of parchment paper with icing sugar and place the mixture between them. Roll out to the desired thickness.4. Using a cutter, stamp out the mints then place onto a baking tray dusted with more icing sugar. Dust the top and cover loosely with cling film.5. Leave for at least an hour at room temperature before turning the mints over, then leave overnight for them to dry and harden completely.6. The next day, melt the chocolate and dip the mints, placing on another piece of parchment paper to set. Once set, they are ready to enjoy!
Details
Prep time: Cook time: Total time: Yield: Around 20 mints, depending on size

I am entering this recipe into the following challenge:
  • The Biscuit Barrel Challenge by I'd Much Rather Bake Than

P.S. Yes, I know my dipping technique needs practice but really who cares when it tastes this good?! :)

Monday, 6 October 2014

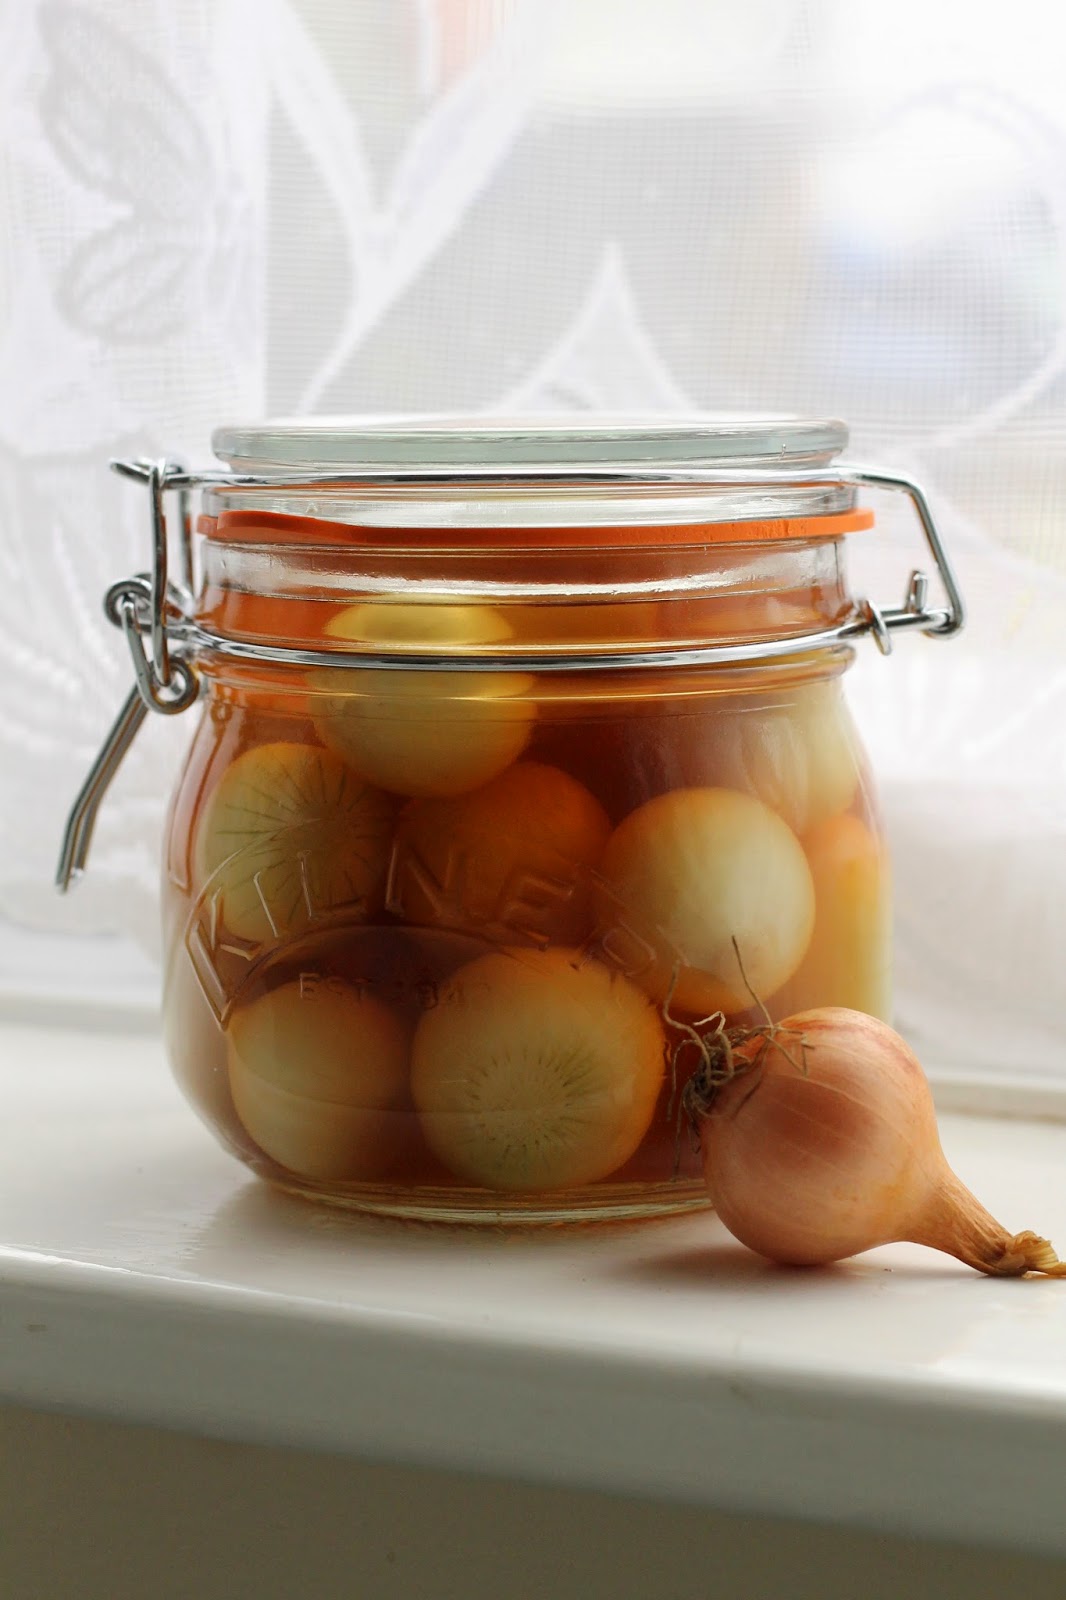
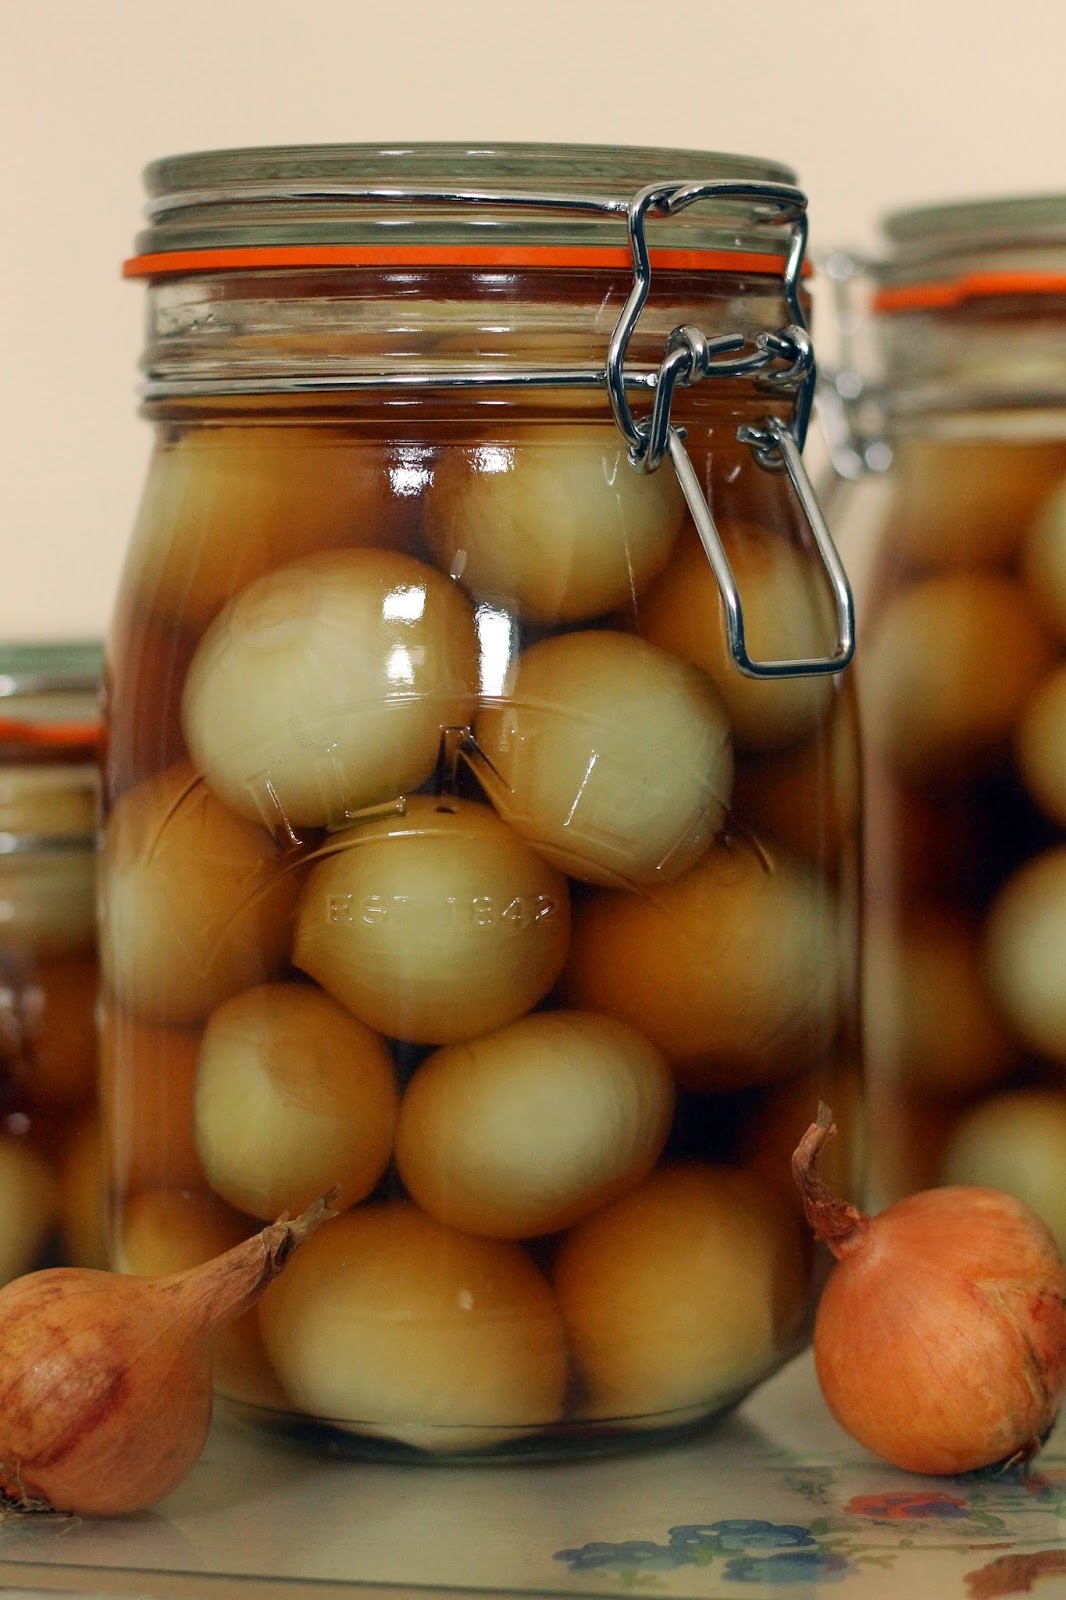
Pickled Onions

It's that time of year when it's starting to get cold and the shops are filling up their seasonal shelves in preparation for the big C-word! It's far too early for me to thinking about when ole St Nick gets here, but one thing I MUST do at this time of year is my pickled onions.


We love these sharp little onions in this house... They are an essential accompaniment to any buffet or sandwich in winter and every year I make more and more as I attempt to ensure I have enough to last through to the next year. I've not got it right yet, we always run out.

Anyway, over the last few years I've been perfecting my method and I think I have it just about worked out; I thought some of you might like me to share it so you can enjoy them over the festive period too.


A quick word about vinegar; you could buy plain vinegar and spice it up yourself with bay leaves, peppercorns, chillies etc but I don't bother. I much prefer the traditional Sarson's Pickling Vinegar for two reasons:
  1. It's what my mum always used so nothing else would feel 'right'.
  2. It contains a higher than usual acidity at 6% (other vinegars tend to be about 5%). Inevitably, some of the liquid transfers from the onions into the vinegar solution. The high acidity means the product won't spoil when this happens.

When it comes to salting your onions, there are two schools of thought. Some will tell you to dry salt them, but I much prefer brining. I've tried both ways and find brining gives the best crunch.

Of course, I always use Kilner jars for my onions. There's nothing worse than a cheap jar leaking vinegar all over the cupboards!

print recipe

Pickled Onions
A family tradition, these must be eaten at Christmas! I have not included amounts in this recipe as it will vary depending on how many jars you want to make.
Ingredients
  • Baby/pickling onions
  • Sarson's pickling vinegar
  • Table Salt
Instructions
1. To aid the peeling of the onions, put them in a bowl and pour boiling water over them. Wait for 20 secs, then pour away the hot water and replace with cold. Top and tail the onions and then slip off the outer skin.2. Place the onions in a large bowl and completely cover with a brining solution made from 75g salt to every 1l of water. Weigh down the top of the onions with a plate, to stop them floating and bobbing their tops out of the water. Leave for 24 hours.3. Pour away the brine and wash the onions very well with plenty of cold water. Pot into hot, sterilised jars and fill to the top with vinegar.4. DO NOT OPEN for at least 2 weeks. These babies need time to mature. Best after at least 2 months but they will keep for up to a year.

Check out my Pinterest for more Perfectly Preserved Pickles...!

"; n.innerHTML = at; container.insertBefore(n , footer); } } return true; }; document.doAT('hentry');
Related Posts Plugin for WordPress, Blogger...

Other interesting websites