Wednesday, 30 July 2014

Garlic Mushroom Soup

Lunches at work are a problem for me.

I lost around 3 stone towards the end of 2013, so in an attempt to maintain that loss I'm trying to eat healthily and cut out unnecessary calories where possible. It's so easy to pop out to a high street store and buy a sandwich and some crisps at lunch time to eat but the fact is, they are really not good for my body! So, in an effort to avoid the crisps, I have made myself some lovely, fresh soup to take to work instead.


I used my Optimum 9400 blender to make this soup, but if you don't have a high-speed blender you can cook this up in a pan for around 10 mins then use either a regular blender or a stick blender.


I'm going to have a great big bowl of this at work tomorrow and I will feel so good that I've avoided those soggy sandwiches!

print recipe

Garlic Mushroom Soup
A super simple but super delicious warming soup.
Ingredients
  • 250g mushrooms (I used chestnut)
  • 1 small potato
  • 1 small onion
  • 1 fat clove garlic
  • 500ml vegetable stock
Instructions
1. Chop all ingredients roughly and put into your high-speed blender.2. Blend on high until piping hot and very smooth. How long it takes will depend on the temperature of your stock when added. If hot, the soup will only take 3-4 minutes but if chilled will take around double that.3. Season to taste, then serve with a drizzle of olive oil on top if desired. For a nice subtle spice, use chilli-infused oil!
Details
Prep time: Cook time: Total time: Yield: At least 2 bowls

If you'd like more great blender recipes, check out this board on Pinterest:


Monday, 28 July 2014

REVIEW: Jamie's Italian, Norwich

On Tuesday this week, we paid a visit to Jamie's Italian in Norwich with a couple of friends. They've been getting a bit of a bad press lately with people mentioning it's never very busy or they feel it is overpriced; but I have had excellent meals there in the past. With that in mind, I thought I'd write a little review of the meal to give my own opinion.


First Impressions
I always think if I've fallen in love within 30 secs of entering a restaurant then they're half way towards me enjoying the whole experience; Jamie's doesn't disappoint on that front. It has a wonderful 'casual yet high end' feel to it right from the front door. As you walk in, your eye is drawn to the gift shop with some lovely plates, dishes, books and other merchandise for sale as well as another counter displaying all the freshly-made pasta and bread for all to see. 9/10

Service
Our waiter was wonderfully attentive and didn't leave us waiting long for anything. He had an extensive knowledge of the menu and could tell us how each dish was cooked and the ingredients; in the past I've always found this to be extremely useful, especially when dining with friends who have allergies. Without prompting, he knew it was my birthday on Sunday by checking my Gold Card on his handheld device (everyone should have a Gold Card, even if you visit Jamie's only once!) and promptly brought over a complimentary bottle of prosecco to celebrate. Result!

At the end of the meal, he was very quick to bring the bill when asked and returned swiftly with the card machine to allow us to pay. All things considered, I think we received very good service. 9/10

The Food
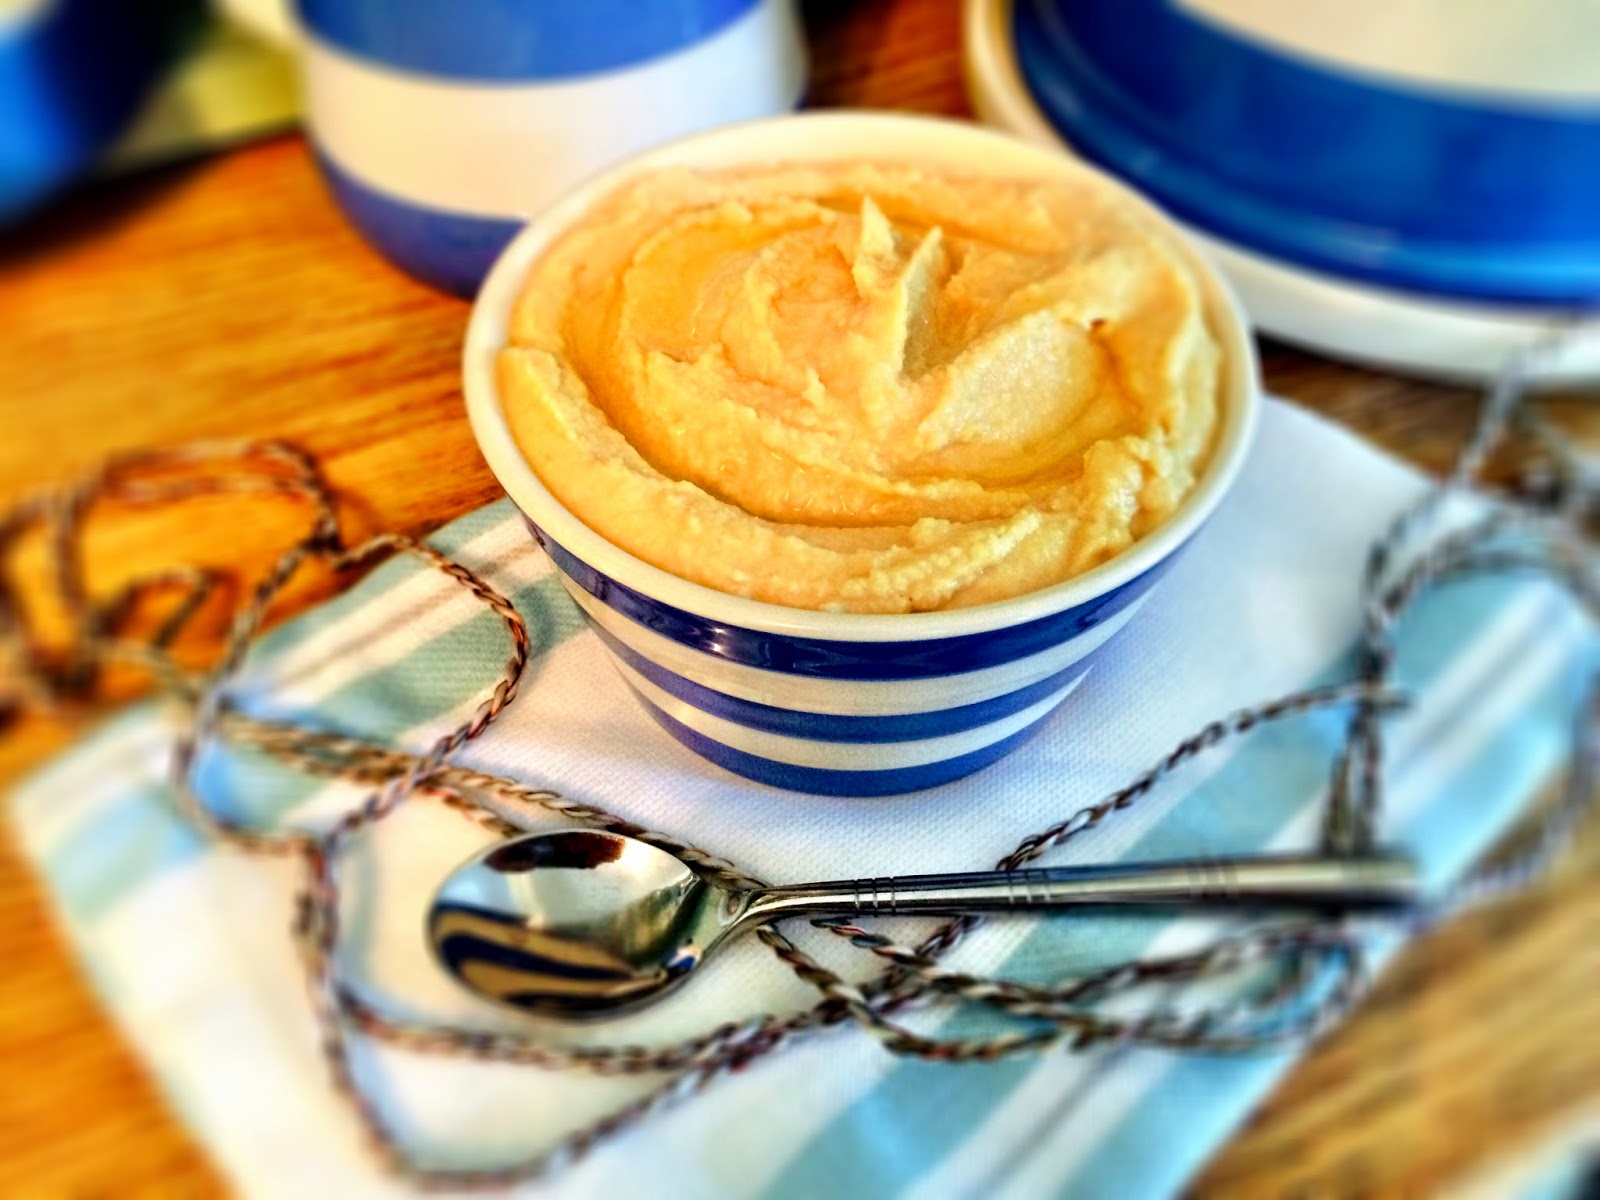
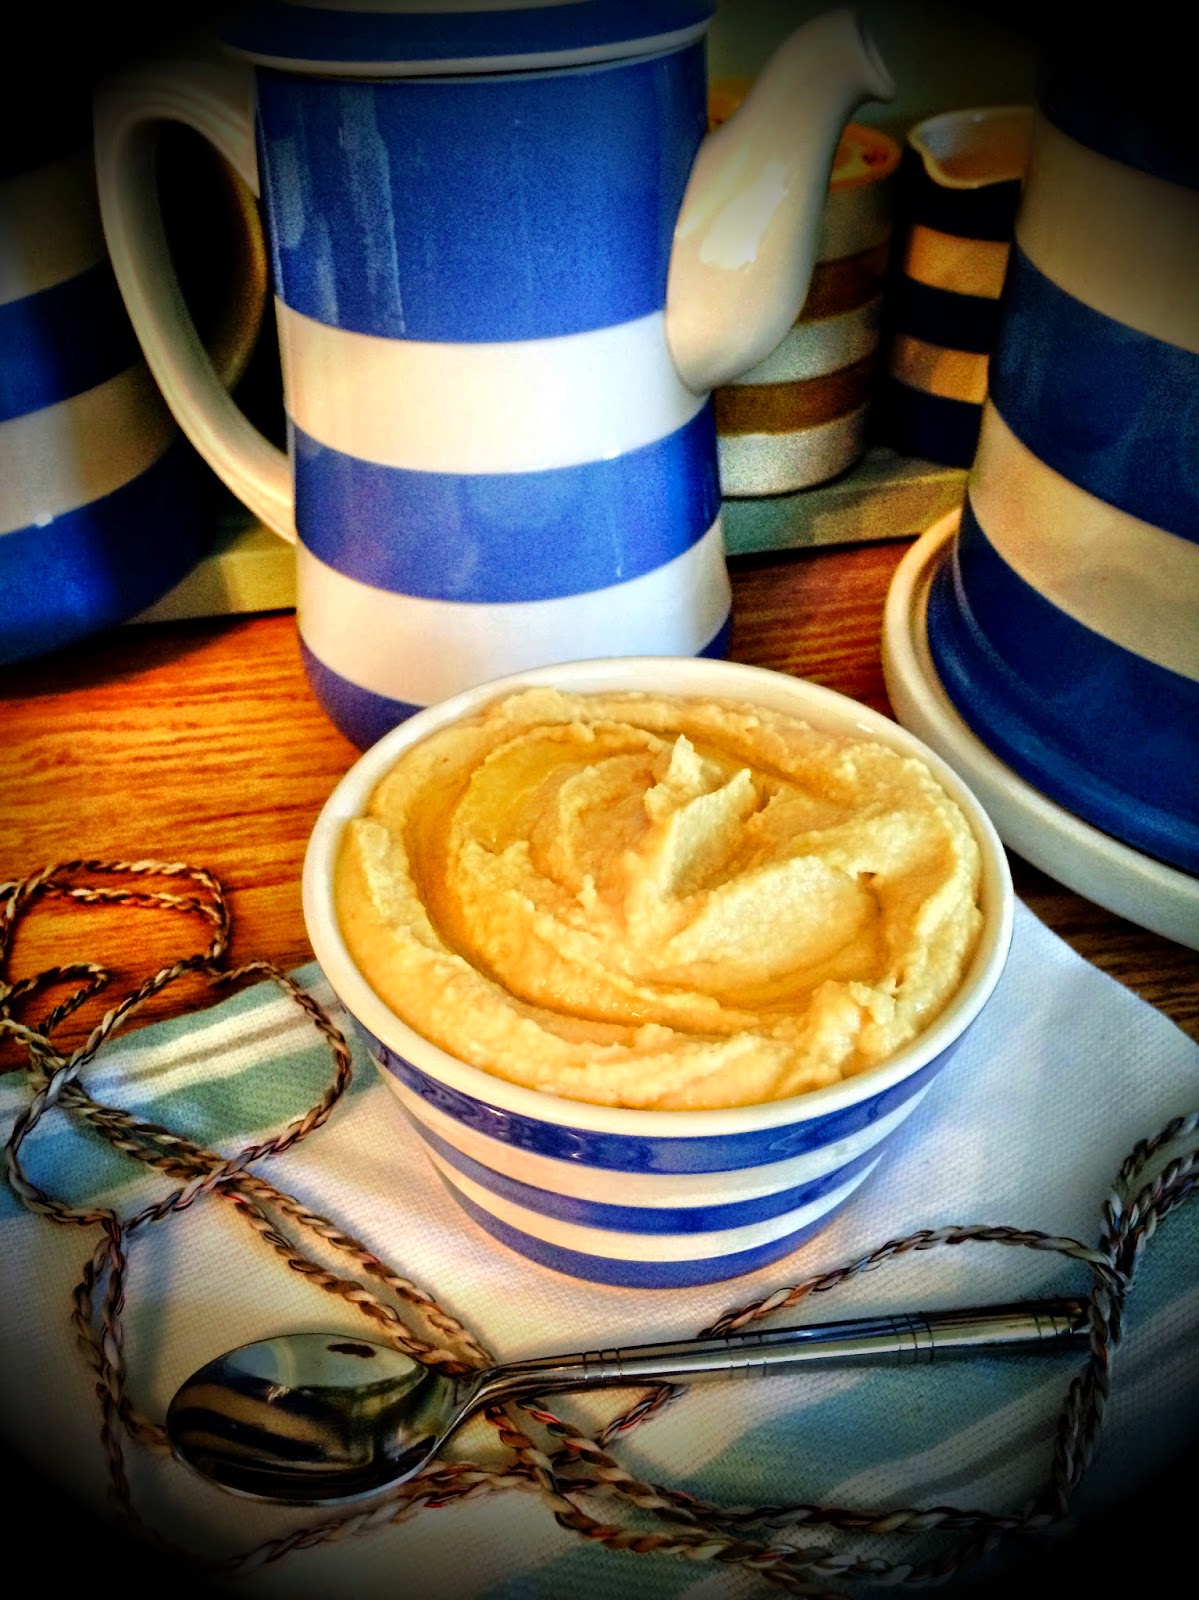
As a Gold Card holder, everyone on the table was given a little 'taster' to start. On this occasion, a small amount of risotto; the texture was lovely but we all felt it was a little bland, not really tasting of anything. 4/10


As a starter, I had crispy prawns and they were delicious! Huge king prawns, wrapped in angel hair pasta and deep fried. What's not to like?! The sauce it came with was tasty, though not at all spicy which was a shock as the menu says it contains chilli. I have no idea what the black sauce was, but it did not taste of anything at all. 8.5/10


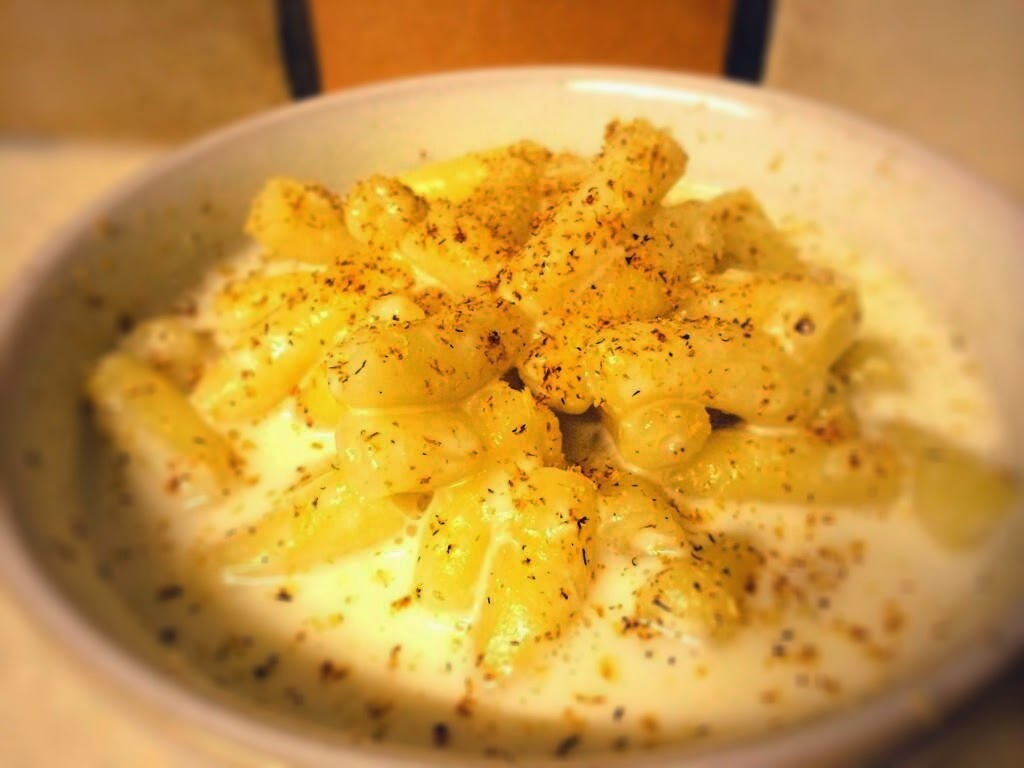
Jamie's currently have an offer running with any pasta dish costing just £5. With that in mind, my dining companions all had pasta. Chris had the Wild Rabbit Casarecce and said it was very tasty and he appreciated the opportunity to try something new (rabbit) at a very reasonable price. My friends had the Carbonara and the Cannelloni; both said they were just 'OK'. Not a good start!

Always the one to buck the trend, I decided to go for the 8oz Rump Steak rather than a pasta dish. I asked for it to be cooked med-rare and that is what is received - perfection! It was tender, succulent and extremely tasty and the garlic and parsley butter over the steak added an excellent flavour too. Unfortunately, the steak was let down a little by its plateside companions. Although advertised as 'rainbow slaw', the salad looked all red to me and all tasted the same, bland. There were not enough fries either, in my opinion, though those served were nice and crispy and well seasoned. 6/10 


Value For Money
Starters and drinks were fairly priced and I believe represented good value.

The pasta dishes at just £5 were exceptional value. However, if they are identical as those usually served for over double that price, I just cannot say they are great value at all.

Again, the steak was fairly priced and I would say good value if they had added a few more chips and more variety in the 'slaw' or perhaps an additional accompaniment. 5/10

Overall
I would be lying if I didn't say I was disappointed. I have eaten in Jamie's before and it has been wonderful; my meal there last christmas was indeed exceptional. However, on this occasion I think they missed the mark with the food which I think was a real shame. The service, decor and ambience of the whole place is great too, so I hope to give it another go sometime on the assumption they must have been having an 'off' day. 6/10

Thanks for reading and I hope this has been of some use! There will be many more restaurant reviews in the future for me to share with you, so please come back soon.


Disclaimer: I was not paid to review this restaurant and they were not aware I would be blogging about my visit. My experience, therefore, represents one of an average customer paying full retail prices. Views expressed are my own personal opinions.

Saturday, 26 July 2014

Mojito Jelly

We had some of Chris's work colleagues and friends over last night for dinner. I fired up the wood-burning pizza oven and we had lovely, freshly cooked pizzas. Unfortunately, I was so engrossed in the cooking I completely forgot to take any pictures of the pizza! Sorry...

However, one thing I DID manage to take pics of is this delicious mojito jelly. Doesn't it just look so much fun?! I found the vintage jelly mould in a local second hand shop a couple of weeks ago and it's been waiting for an occasion such as last night to get some use.


It was a real hit with all involved, not least because it is 1/4 rum! It's a very grown up but still fun version of the jelly served at children's birthday parties up and down the country. Who says you have to be a child to enjoy a jelly?!

I apologise in advance for the lack of precision in this recipe, but there are so many different brands of jelly out there, you'll need to follow the instructions for your particular brand!

print recipe

Mojito Jelly
A fun and alcoholic jelly, sure to be a hit at parties!
Ingredients
  • lime jelly (how much you need will depend on how big your mould is!)
  • white or spiced rum
  • 5-6 sprigs of mint
Instructions
1. Read the instructions on your jelly carefully. Typically, you will mix with half hot and half cold water to make your jelly but for this recipe you need to HALF the amount of liquid required.2. Add a small amount of hot water to melt your jelly if required by the instructions, then make up to 1/2 the required amount of liquid (1/4 of the original instructions!) with cold water.3. Top up with rum to the total amount of liquid. Less rum can be used; just use more water in its place. Don't add more rum than this though, or the jelly might not set.4. Lightly grease the inside of the mould with a neutral-tasting oil on a piece of kitchen towel. Vegetable oil or sunflower oil will work fine. 5. Pour the jelly mix into the greased mould and pop in the sprigs of mint. Leave to set in the fridge.6. To ensure the jelly turns out well, run a cocktail stick or sharp knife around the top edge of the jelly to loosen it from the mould. Next, dunk the outside of the mould in warm water for around 5 secs then turn out immediately onto a plate. Enjoy!
Details
Total time: Yield: 1 jelly

For more great jelly recipes, see my 'Wibble, Wobble!' board on Pinterest:


I am entering this recipe into the following challenges:


Thursday, 24 July 2014

Vanilla Bean Paste

I discovered vanilla paste about 18 months ago now in Sainsbury's. Like many people, I'd seen Jamie O use it on '15 minute meals' and just decided it was some fancy cheffy ingredient flown in from afar; so I was delighted to find it in the supermarket and thought I'd give it a go.

Now, I'm hooked! I absolutely love using it in anything that needs a little vanilla hit and the advantage over using an extract is you get the lovely little black specks of vanilla in the finished dish! It is never going to give as intense and fresh flavour as a freshly scraped pod, but in baking I don't think you would ever tell the difference. The other advantage of using the paste is you are totally in control of how much you use. When using a fresh pod, it's kinda difficult to just use 1/4 of a pod...


So, given that I love vanilla paste, I was very pleased to find this recipe from Foodzeit and decided to give it a go! The result is a paste that is every bit as good as the shop-bought version but at a fraction of the price. I used 5 Premium Gourmet Madagascan Bourbon Vanilla Pods from VanillaMart in this recipe. At £8.25 for 20, they are excellent value and top quality too!

print recipe

Vanilla Bean Paste
An intensely flavoured paste used to add a touch of vanilla to any recipe.
Ingredients
  • 20g good quality vanilla beans
  • 60g caster sugar
  • 60ml water
  • 1tsp lime juice
Instructions
1. Place all ingredients into a blender or food processor and whizz up until there are no lumps of vanilla remaining.2. Pour the mix into a pan and stir over a medium heat to reduce down. You want this to still be a pourable liquid; it is going to thicken as it cools, so remember to leave it a little runnier than you want the finished paste to be.3. Pour into a container and seal. I used a sterilised glass bottle to prolong the shelf life of the product as much as possible.4. Store in the fridge and use as/when required!
Details
Prep time: Cook time: Total time: Yield: Around 80-100ml

If you'd prefer to make your own vanilla extract instead of paste, hop on over to 'Tales From The Kitchen Shed' and try out the wonderful recipe there!

Monday, 21 July 2014

Salted Caramel and Pretzel Ice Cream

My name is Kevin and I am addicted to salted caramel.

Phew, I'm glad I got that out of the way... Now that I have, I can show you this fantastic recipe for a salted caramel and pretzel ice cream. It is incredible, even if I do say so myself!


Once again, I've turned to my trusty Froothie Optimum 9400 blender for this recipe. I'm sorry if you like to read my blog and you haven't got one of these because I really am using it a lot. I've not had it long but already it is an invaluable tool in my kitchen. It cuts out so many steps when cooking so many things; probably my best kitchen investment to date!

If you don't have a high speed blender then you should buy one. Failing that, you can put all the ingredients for the custard into a saucepan on a low heat and whisk, whisk and whisk some more until thickened.

This is really two recipes in one, because once the custard is made it can be used for a whole manner of things. I love old fashioned sponge puddings with lashings of homemade custard.


I'm using an ice cream machine in this recipe too, but if you don't have one you can place the mixture in the freezer and stir well every hour until frozen. You'll have to judge the right time to add the caramel and pretzels.

For this recipe, I have used the trusted Gordon Ramsey recipe for Caramel Sauce and added a good twist of salt into it at the end.

print recipe

Salted Caramel and Pretzel Ice Cream
A fantastically tasty ice cream, with a surprisingly good addition of pretzels.
Ingredients
  • 300ml full fat milk
  • 5 medium egg yolks
  • 85g caster sugar
  • 1 vanilla pod
  • 4 tbsp salted caramel sauce
  • 300ml double cream
  • 50g salted pretzels, crushed
Instructions
1. Scrape the seeds from the vanilla pod and add into the blender, along with the milk, egg yolks, sugar and 1 tbsp of the salted caramel sauce.2. Blend on high for 5-7mins or until thickened and piping hot.3. Pour into a bowl and leave to cool until room temperature.4. Whisk in the cream and put into the fridge for at least 2 hours. You want the custard to be nice and cold.5. Churn the ice cream in an ice cream machine, according to the manufacturer's instructions.6. Once frozen, stir through the remaining salted caramel sauce and crushed pretzels then place in the freezer for at least 2 hours before serving to firm up completely.7. Serve with more salted caramel sauce and crushed pretzels on top.
Details
Total time: Yield: Approx 1ltr

If you like this recipe, you will also love my recipe for Icey Lemon Meringue Surprise!

More frosty treats can be found on my Pinterest board below:

Sunday, 20 July 2014

Easy Oaty Dog Treats

Don't you think these little oaty biscuits look great? I'm sure they taste wonderful too, if you're a dog!


Yes, these lovely little snacks are actually dog treats. They are super easy and made according to a recipe given to me by my friend Jo who used to bake all different kinds of treats and sell them to dog walkers outside her house in Wales.

They are so so easy to make, as there are only two ingredients; porridge oats and baby food!

My dog loves them so I'm sure yours will too (if you have one... If not, this is probably not the recipe for you!) There are so many different varieties of baby food out there I'm sure your dog will never get bored of them. I think you could also use the same quantity of blended leftovers if you had some and didn't want to buy baby food.

print recipe

Easy Oaty Dog Treats
So simple, I'm almost ashamed to call this a recipe!
Ingredients
  • 2 jars baby food
  • 2 cups porridge oats
Instructions
1. Preheat oven to 170ºC.2. Mix the baby food and oats together in a bowl until well combined.3. Taking a heaped teaspoon of the mixture, roll into a ball then flatten onto a baking tray lined with baking parchment. Repeat until all the ingredients have been used.4. Bake for 25mins, then turn off the oven. Leave the treats in the oven until it is completely cool. This will dry them out and ensure they are extra crunchy.
Details
Prep time: Cook time: Total time: Yield: 25-30 dog treats

For more great treat ideas for your dog, check out my Pinterest board below:

P.S. I have NO IDEA why I decided to use a plate, napkin and pastry fork in these photographs.... My dog, whilst very clever, does not use these utensils in order to eat the treats!

Saturday, 19 July 2014

Froothie White Sauce

Those of you that have read some of my previous posts will know that I am in love with my recently purchased Optimum 9400 high-speed blender.

One of the things I love about this blender is how versatile it is! I've already used it to make Coolers, Nut Milks and Curds but with this recipe I wanted to push it even further. You see, this blender's blades spin SO fast that the friction caused actually heats the mixture. This makes it a great gadget for making soups from scratch etc. but I wondered what else this feature could be used for...

I love white sauce (also known as béchamel sauce), but I hate the faff of making it. Either making a roux and then adding the milk bit by bit or just chucking it all in and stirring, there is a significant problem for me; you have to watch it like a hawk and stir it constantly. So, when I heard about the Optimum 9400's ability to heat and stir, I wondered if it could create a nice white sauce. I couldn't find any recipes or experience online, so I decided to just give it a go anyway. I'm glad I did because the sauce was PERFECT.


It was thick, creamy and smooth; not a lump of flour in sight.


White sauce is so versatile. Just add a handful of cheese after thickening to turn it into a cheese sauce. Use stock in place of milk and it's a valouté. A quarter of an onion added at the beginning turns it into an onion sauce, whilst a spoon of mustard at the end gives you a creamy mustard sauce. The possibilities are (nearly) endless!

So, here's how I made it... I'm sorry, but this recipe will really only work if you have a high speed blender that will heat up whilst mixing. (Just call this one more reason why you NEED one of these.)

print recipe

Froothie White Sauce
A thick and creamy white sauce made in a blender.
Ingredients
  • 1pt milk
  • 60g butter
  • 60g plain flour
Instructions
1. Cut the butter into cubes then place all ingredients into the blender. Switch on to full power.2. After around 3 minutes, stop the blender and scrape any stray flower from around the sides.3. Blend, again on high, for a further 3-4 minutes or until the sauce is thick, creamy and piping hot.4. Enjoy!
Details
Prep time: Cook time: Total time: Yield: Just over 1pt

I used this white sauce to make a delicious cauliflower cheese tart. It was gorgeous!


For more sauce ideas, check out my pinterest board below:


Thursday, 17 July 2014

Icey Lemon Meringue Surprise!

Don't you just hate those people who create recipes with the word 'surprise' in the title but no ACTUAL surprise in the dish? Yeah, me too!


Well, this frozen yogurt has a real surprise up its sleeve. You see, it's called lemon meringue surprise and it really does taste of lemons, but it has NO LEMONS in the recipe at all! The sharpness of yogurt and sweetness of meringue combine to give a delicious lemony flavour without any actual lemons. Cool, huh?

I must admit, when my friend Joanne told me about this taste phenomenon I didn't believe her, but it really does work! Of course, I have enhanced the illusion here by using some yellow food colouring (I know, I used a bit too much!) just to trick the eye as well as the tastebuds. If you are averse to food colouring, feel free to leave it out.


I use Müller Corner yogurts in this dessert, which is great because you can use the fruit part to pretty up the plate... I've used some of my leftover Froothie Lime Curd on the plate here too, but you don't have to if you don't want to.

So, here's how to make your own tongue-tricking dessert...


print recipe

Icey Lemon Meringue Surprise
A tongue-tricking frozen yogurt dessert. Tastes of lemon but contains no lemon!
Ingredients
  • 4 Müller Corners (I used blackberry & raspberry)
  • 6 meringue nests
  • A few drops of yellow food colouring (optional)
Instructions
1. Pour the yogurt part of the Müller Corners into a bowl, then roughly crush 5 of the meringue nests and add.2. Remove some of the mix to another bowl and add the food colouring, mixing well.3. Line a container with cling film (I used a loaf tin) and dollop in the yellow and white mixes alternately, then swirl around lightly with a spoon.4. Crush the remaining meringue nest and sprinkle over the top, pressing down slightly with the spoon. Place the tin in the freezer overnight or until completely frozen.5. Pour out the fruit parts of the Müller Corners into a container and put in the fridge until you are ready to serve up. If desired, you can strain the compote for a smoother sauce.6. The next day, remove the dessert from the tin and slice with a sharp knife into 1-2cm slices. Serve with the fruit compote.
Details
Total time: Yield: 4 servings

Some other really cool (excuse the pun!) dessert recipes from fellow bloggers:

For more great frozen desserts, visit my Pinterest board:

Wednesday, 16 July 2014

Homemade Hummus

I like to think of Hummus as the Marmite of the Middle East. People I talk to about it either love it, or they detest it. Of course, there are always some people who will say they don't feel strongly about it, but I'm never one to let them spoil my analogy!

Homemade Hummus

This is a very simple hummus recipe. I developed it many years ago to please my own palette. I found many of the recipes on the internet were too heavy on the tahini for me and it's a taste I'm not overly keen on. The recipe forms a great base for a whole range of variation; roasted red pepper, chilli or sun-dried tomato all lend a lovely flavour to this delicious dip.

Chickpea Hummus

I like my hummus with toasted and sliced pitta bread; I'll often eat this as a weekend lunch. As a snack, it pairs well with vegetable sticks (carrot, celery etc) as a low-calorie alternative to the mid-afternoon pack of crisps or chocolate bar. It can also be put into a sandwich with any range of fillings for a lovely flavour.

The recipe uses tahini which is a paste of sesame seeds. This can usually be found at a supermarket but if not, use 1 tbsp sesame seeds as part of step 1 and process for longer until they have broken down completely.

I love to use Yare Valley Oils extra virgin cold-pressed rapeseed oil for my hummus. It has a wonderful flavour and is a really versatile oil - I love to use it when baking bread, too.  They also make some cracking dressings, chilli oil and even an oak smoked oil! However, olive oil could be used in its place if desired.

print recipe

Homemade Hummus
A lovely Middle Eastern dip, perfect as a snack or accompaniment.
Ingredients
  • 5 tbsp rapeseed oil (you could use olive oil if you prefer)
  • 2 cloves of garlic
  • 0.5 tbsp tahini
  • 1 can chickpeas
  • Juice of 0.5-1 lemon
Instructions
1. Place the oil, garlic and tahini into a food processor or blender and process until everything is combined and there are no large lumps of garlic visible.2. Add in the drained chickpeas and process again until the hummus is smooth.3. Starting with half of a lemon, squeeze in the juice and then taste, adding more lemon if required. The hummus should taste as if there is not quite enough garlic but slightly too much lemon as these flavours will develop once left to rest.4. Whilst this could be eaten immediately, I would always store in the fridge at least overnight to allow the flavours to develop before eating.
Details
Total time: Yield: 1 bowl

Why not check out my Pinterest board below for more Butters, Spreads and Dips?


You could also check out my recipe for Mocha Almond Butter!

Monday, 14 July 2014

Cruelty-Free Deer Head Hanging

Have you checked out my Pinterest board on 'Napkin Crafts' yet? I don't know about you but I was amazed at the amount of things you can do with napkins! So cheap, too. If you haven't looked at it yet, check out the link at the bottom of this post.

Here's something else that takes just a few napkins and some patience...


This deer's head is created by layering napkins over a blank made by a company called Decopatch. They come in all shapes and sizes, but no matter which you get they are covered in the same way.

The company also sells paper and glue designed for covering the blanks, but if you like being frugal then you can just use napkins like me! 

Follow these 4 easy steps for your very own patterned creature:

  1. Separate the layers of the napkins and rip each layer into small pieces around the size of a 50p. 
  2. Use PVA glue to attach the white under-layers of the napkins all over the blank; this gives a nice white background and makes the design stand out. 
  3. Repeat with the patterned layer and admire the finished model! 
  4. A final coat of PVA or a spray of craft sealer over the top will ensure it is protected against dust etc.


Happy Decopatching!

Check out my board on Pinterest for more great ideas of things to make with napkins... 

Sunday, 13 July 2014

Lime & Coconut Bundt

In my house, Sundays are usually a day for 'taking it easy'. It's a day for long walks with the dog, catching up on tv we missed through the week and, of course, baking!

I try to bake most Sundays as part of the Sunday Baking Club, and today was no exception.

Laying in bed this morning, wondering what to bake, my mind wandered to all the gorgeous food I'd seen this week since starting the blog. That's when I remembered it. As soon as I thought about this wonderful Froothie Lime Curd from Jac at Tinned Tomatoes I knew I had to make a cake with lime.

After a bit of deliberation, I decided on a Lime and Coconut Bundt, since I'd bought a new bundt pan earlier this week. It is absolutely delicious, even if I do say so myself...


I used coconut milk concentrate sachets in this, but if you can't find these you can use the same weight of creamed coconut grated and added to a little boiling water to form a thick paste. Let it cool before you use it. Similarly, if you don't want to make your own lime curd then Tesco sell a 'Key Lime Curd' that I think would work well.


print recipe

Lime & Coconut Bundt
A lovely refreshing bundt cake, full of the flavours of creamy coconut and zesty lime
Ingredients
  • 300g caster sugar
  • 300g butter or baking spread
  • 50g coconut milk concentrate
  • 300g self-raising flour
  • 1.5 tsp baking powder
  • 50g dessicated coconut
  • 6 medium eggs
  • Juice and zest of 1 lime
  • 3-4 tbsp lime curd

  • For the glaze and topping:
  • Juice and zest of 1 lime
  • 50g coconut milk concentrate
  • Up to 300g icing sugar
  • 3-4 tbsp toasted dessicated coconut
Instructions
1. Preheat the oven to 160ºC.2. Cream the butter (or baking spread) and sugar together in a food mixer or by hand until creamy and well-combined.3. Mix in the coconut milk concentrate.4. In a seperate bowl, mix together the flour, baking powder and dessicated coconut.5. Add 2 eggs and 1/3 of the flour mixture to the butter and sugar then mix to combine. Repeat until all eggs and flour have been used.6. Add in the zest and juice of the lime, then beat the mixture for 10-15 secs to ensure all ingredients are well mixed.7. Pour half of the mixture into a pre-greased and floured tin then spoon over the lime curd. Top with the remaining mix and bang the tin on a hard surface several times to level.8. Bake in the center of the oven for 45-60 mins, or until cooked. To test, insert a skewer into the center of the cake, if it comes out clean then the cake is cooked.9. Let the cake stand for 10mins then turn out of the tin onto a cooling rack. Leave to cool completely.
For the glaze and topping:10. Mix the lime juice, zest and coconut milk concentrate together until combined then add enough icing sugar until you have a thick but pourable glaze. The amount of icing sugar needed will vary widely depending on how juicy your lime is, the amount quoted is just a guide.11. Pour the glaze over the cooled cake, then top with the toasted coconut.
Details
Prep time: Cook time: Total time: Yield: 1 10-Cup bundt cake

For more great bundt cakes, take a look at my Pinterest board: 'Does my Bundt look big in this?!'

Saturday, 12 July 2014

Salted Caramel Coffee Cooler

When I pulled open the curtains this morning, it was miserable outside. Dull, wet and horrible. The kind of day I pull on a hoodie that's a size too big and prepare to make myself comfortable.

But by 10am, the sun was shining and it was getting rather hot. By midday, it was roasting. You may wonder why I'm telling you about this on a foodie blog? Well, it is relevant because today was my inspiration for this recipe.

Being somewhat addicted to caffeine, I like my coffee on a Saturday afternoon, but today it was far too hot for that. As I was wondering about what to drink, my eyes settled on my new Froothie Optimum 9400 blender and I had a brain wave - let's blend my afternoon coffee with some ice and create one of those drinks I pay far too much for on the high street, but BETTER!

I had a Salted Caramel Frapuccino in Starbucks when they created them and I thought it was disgusting; it tasted really bitter and burnt... This is the version I wish they had created. If you don't like coffee, just leave it out and add extra milk and a little more caramel. You can leave the cream off if you're watching your waistline too!


You could use a pre-bought salted caramel sauce in this recipe, but I ALWAYS have some made from this recipe in the fridge for times like this. Just add a twist of sea salt to taste at the end. It's great for adding to coffee, ice cream or sometimes just eating from a spoon! (Shhh... Don't tell anyone.)

The Optimum 9400 makes short work of crushing down the ice in this recipe, but if you just have a standard blender, be sure to check the instructions to make sure it is suitable for blending ice.

print recipe

Salted Caramel Coffee Cooler
A fantastic cold coffee drink which will pick you up on those hot summer afternoons. Using the serving glass to measure out most of the ingredients makes this super quick and easy too!
Ingredients
  • 1.5 glasses ice
  • 1/3 glass milk (I used my Almond Milk!)
  • 1 shot espresso
  • 2 tbsp salted caramel sauce
  • Whipped cream for topping
Instructions
1. Place the ice in the blender, followed by the milk, espresso and salted caramel sauce.2. Blend together, until you get to a consistency you are happy with. If it looks too thick then add a little milk, too wet then add a few extra ice cubes.3. Pour into your serving glass, top with whipped cream and ENJOY!
Details
Total time:
Yield: 1 Glass

The only problem is that if you are a messy cook like me, once the drink is all gone you are left with the cleaning up to do! Thank goodness the Optimum 9400 is so easy to clean...


Check out my Pinterest board for more Shakes, Smoothies and Juices...


I am entering this recipe for the following challenges:


Friday, 11 July 2014

Crafty Tile Coasters

What that you say? You thought this was a blog about food AND crafts but it's been all food so far? Fear not, dear reader. I have a crafty make for you!


You could pay a fortune for cute little coasters like these in some high-end boutique shop, but I am going to show you how you can make your very own for PENNIES...

These particular ones were supposed to be a present, but I liked them so much I kept them for myself. I would feel guilty, if they didn't look so great in my lounge!


MAKE: Crafty Tile Coasters


Materials
White 4"x4" tiles
Pretty napkins (I used Cath Kidston)
PVA glue
Strong craft glue

Spray sealant (I used Plasti-Kote Matt Sealer)
Sheets of felt or cork, for backing

Tools
Paintbrush
Surface to dry coasters on (I used another big tile)

Method

  1. Open up your napkin and cut into 4 along the creases.
  2. Paint a layer of PVA onto the front and the side of the tile.
  3. Decide which part of your napkin you want to use as the 'image' on your tile, but remember to leave enough overhang to go over the edge of the tile and glue to the reverse. Apply this confidently to the tile, smoothing all over to minimise big wrinkles.
  4. Lay the tile on its front, then apply PVA to the back of the tile.
  5. Fold each side over, keeping the napkin taught but being very careful - wet napkins are fragile!!! One you've done one side, start to snip off some of the excess in the corners as you approach each of the other sides, to minimise bulk on the back of the tile. Be sure to apply more glue in the corners to make them stick.
  6. Repeat steps 1-5 until you've done all of your coasters.
  7. Apply a thin layer of PVA to the whole of the back of the tile. This is just to tidy up the back and adhere it to the tile completely. Leave to dry.
  8. Apply 3 layers of PVA to the face and sides of the coasters, making sure you leave the coasters to dry completely between coats (overnight is ideal, but a few hours should be sufficient).
  9. Once dry, spray two coats of spray sealant over the face and sides of the tile, making sure to leave to dry between coats. This makes the coaster waterproof and protects it from the heat of hot mugs etc.
  10. Using a strong craft glue, stick a square of felt or cork to the back then leave overnight to dry.
  11. Enjoy your finished coasters!

NOTE: The napkins WILL get wrinkles in them. I don't mind that and I actually think it adds a lovely texture to the finished coasters. Learn to embrace those wrinkles 


Check out my board on Pinterest for more great ideas of things to make with napkins... 

"; n.innerHTML = at; container.insertBefore(n , footer); } } return true; }; document.doAT('hentry');
Related Posts Plugin for WordPress, Blogger...

Other interesting websites