Saturday, 30 August 2014

Chicken & Mushrooms in a White Wine Sauce

My dad loves sweet and sour chicken, but I think it is disgusting! When I lived at home, whenever mum made him sweet and sour we would have our chicken in a jar of Chicken Tonight sauce. I really used to enjoy it and for that reason it always feels comforting to eat.


Whenever possible, I try to stay away from prepared sauces these days and cook everything fresh; that way, I know exactly what's in it! So, this is a recipe I created to remind me of those nights in with my parents but without using a single jar :)

I used rosemary in this dish because I love it and I have a big bush in the garden. However, you could use any herb you like or even leave it out if you prefer!


I accompanied mine with egg fried rice, since that's what we always had... But you could pair it up with a pile of mashed potato or any other accompaniment you love.


print recipe

Chicken & Mushrooms in White Wine Sauce
Diced chicken served in a sauce packed with rich flavours and finished with a dash of cream.
Ingredients
  • 2 chicken breasts, diced
  • 200g mushrooms
  • 1 large leek
  • A good splash of worcestershire sauce (optional)
  • Medium glass white wine
  • 300ml chicken stock
  • 1 sprig rosemary
  • 2tbsp cornflour
  • 2-3 tablespoons double cream
Instructions
1. Fry the chicken breasts in a little olive oil on a high-med heat until sealed and browned on all sides.2. Trim and wash the leeks thoroughly then slice and add to the pan. Quarter the mushrooms and add these too. Cook until softened.3. Add the worcestershire sauce, if using, and allow to sizzle for a few moments whilst you pour the glass of wine.4. Add the wine, followed by the stock and rosemary and reduce heat to med-low. Allow to simmer for around 10-15 minutes or until the chicken is cooked through.5. Mix the cornflour with a splash of water until a thin paste is formed with no lumps. Add a little at a time to the chicken until the sauce is at the desired thickness; you probably won't need to add it all, but if you add too much just thin it with a little water again.6. Take the pan off the heat, then add the cream. Stir well to combine and serve.
Details
Prep time: Cook time: Total time: Yield: 2 servings

Tuesday, 26 August 2014

Tomato, Red Onion and Blue Cheese Focaccia

Like almost everyone in the country who loves to bake, I've been a little bit obsessed with the Great British Bake Off again this year! It is inevitable that it will influence my blogging over the next few weeks as they work their way through the themes.

As I was watching the episode last week (on bread, if you didn't see it!) I was reminded of this delicious focaccia. It's my own recipe and I first made it on Boxing Day a few years ago when we had family over for lunch. It went down a storm and I've made it several times since then but for one reason or another haven't made it in a while.


So, with the bake off fresh in my head and a craving for this bread, I decided to make it and share the recipe with you lucky lucky readers :)

Please don't be put off by the blue cheese in this recipe if it's not to your taste. Simply use your favourite melting cheese instead; or even leave it out if you want to! It will still be delicious. Do play around with the recipe too if you like. You could add herbs or spices into the bread mix or perhaps top with olives, pesto or something else exotic... The bread is yours to do as you wish!


I make this dough in my KitchenAid, since it is quite a wet dough and will be quite sticky to work with by hand, but it can be done if you don't have a mixer and it will be a lot of messy fun along the way! For tips on how to tell if your dough has been kneaded enough, have a look as these excellent images from the kitchn. 

You'll notice I use COLD water in my recipe and this may seem counter-intuitive to those used to using warm water. I prefer this as the bread needs a longer rise which also means it has more time to develop that all-important flavour.

So, here we go...!

print recipe

Tomato, Red Onion and Blue Cheese Focaccia
A delicious yet simple focaccia piled with yummy toppings.
Ingredients
  • 350g strong white flour
  • 1 sachet/7g easy bake yeast
  • 5g salt
  • 225ml COLD water
  • 1tbsp olive oil
  • A handful of cherry tomatoes
  • 1/2 medium red onion, sliced
  • 2tbsp olive oil
  • 1tbsp balsamic vinegar
  • 50g blue cheese
Instructions
1. Place the flour, yeast, salt, water and 1tbsp olive oil into the bowl of your mixer and turn on low to combine thoroughly.2. Knead on a moderate speed for 5-10 minutes, checking every few minutes using the window pane test (see link above) to see when it is sufficiently kneaded.3. Once the dough has been worked enough, form into a ball, cover the bowl with cling film and leave at room temperature to prove until doubled in size. This will take around 1-2 hours, depending on the temperature of your kitchen.4. Meanwhile, slice your onion and place it in a bowl with the tomatoes. Pour over the balsamic vinegar and 2tbsp olive oil then cover with cling film and place into the fridge to marinate.5. Once the dough is proved, tip out onto a work surface and press lightly to release any large pockets of air. Oil a baking tray and place the dough onto it, then press out to the desired shape. Remember that this will rise again to double in size, so don't make it too thick at this stage. Cover again with lightly oiled cling film and leave for 1/2 hour at room temperature. At this point, turn on your oven to 250ºC or its highest temperature.6. Top the bread with the onions and tomatoes, pushing them lightly down into the dough. Crumble the cheese into small pieces and push those into the dough too then spoon over enough of the marinade to lightly cover the dough and smooth over with your fingers. Leave for 10 mins for the dough to slightly rise around the toppings.7. Place into the very hot oven for 10 mins, then turn the oven down to 200ºC and bake for a further 10 mins. Remove from the oven when the bread is golden and the onions are cooked and slightly crisp.8. This bread is best served warm, so leave to cool for a little while before tucking in!
Details
Prep time: Cook time: Total time: Yield: 1 medium focaccia

For more great bread recipes, check out these from other bloggers:

Sunday, 24 August 2014

Mum's Beef Stew & My Dumplings

When I think of stew, I think of cold Sunday afternoons in the middle of winter, a roaring fire and a blanket. Isn't it a bit strange, then, to be cooking stew in the middle of August?! 


Perhaps it's because we have just returned from a week camping in Devon where it was very chilly at night or perhaps it's because the nights are getting rather nippy at home too. Whatever the reason, I have just reminded myself how much I LOVE this stew.


I have fond memories of coming home from school to a massive pot of this blipping away on the hob. I could smell it outside the front door and it would make my mouth water until it was time to eat. I ALWAYS had at least 2 bowls full, sometimes more. It really is that good!

I've used carrots, swede and potato in this but it works with almost any veg that won't turn to a mush. Peas, cauliflower, broccoli and more all work well in this recipe. It really will help to use up your leftover veg.


This is a slow cooker recipe because that's how I like my Sundays. Chuck this in the slow cooker and leave it for the day to cook away, making that beef meltingly tender and keeping you stress-free. However, you can cook it on the hob too! Use a low heat for around 2 hours before adding the dumplings, but stir every now and then to stop it sticking.

print recipe

Mum's Beef Stew and My Dumplings
My mum's recipe for a traditional beef stew with my super easy dumplings too!
Ingredients
  • 500g stewing steak, diced
  • 1 large onion, chopped
  • 500g (prepared weight) mixed vegetables, diced or cut into small pieces
  • 1 tin oxtail soup
  • 1 tin baked beans
  • 125g self-raising flour
  • 65g cold butter
Instructions
1. Fry the beef and chopped onion in a pan until sealed on the outside then tumble into the slow cooker.2. Add the prepared vegetables, oxtail soup and around 1/2 can of water and mix well.3. Cook on high for 1 hour then turn down to low. It's hard to cook this for too long, so you can be fairly relaxed. If it's likely to be on all day, just leave it on low from the start.4. Around 30 mins before you are ready to eat, stir the tin of baked beans into the stew and switch to high to allow it to heat through.5. At the same time, grate the butter into the flour and rub together with your fingers until combined. Add cold water, a splash at a time until the mixture comes together into a dough. Form this into 6 balls and pop into the top of the stew, pushing them down so they are half submerged. Serve when they are cooked fully.
Details
Prep time: Cook time: Total time: Yield: 4 servings

For more great slow cooker recipes, check out my board on Pinterest:

Follow Kevin Chambers-Paston's board Cookin' it low and slooooow... on Pinterest.

Monday, 11 August 2014

'Secret' Raspberry Jam

There is something I find so satisfying about making my own jam. It's especially good when, like this weekend, we go over to White House Farm to pick our own raspberries. In this case, they went from plant to jar in just a couple of hours!


I am really pleased with this jam. There is something about it that tastes so 'fresh'; it could be that it was made within a few hours of picking, or perhaps it was the lemons I like to add. To be honest, I think it's all to do with the 'secret' ingredient in this recipe; peach! 

I was given the excellent tip of adding a small amount of peach into the jam by Jacky the Wilderness Woman. Jacky is based in Plymouth but travels nationally running a range of wild food foraging courses. You should check her out if you're interested in foraging; we'll be seeing her for a walk in a couple of weeks, so stay tuned for pics and details after the event.

Raspberry really is the 'king' of jams in my mind. It is so delicious and yet so simple to make that there's no excuses for not giving it a go!

My jars and lids are all from JamJarShop.com but you can use old jars you may have around the house, as long as they are spotlessly clean and free from any damage. I would always recommend using new lids though, as these tend to cling on to the odour and flavour of the jar's previous occupant!

However you source your jars, you'll need to sterilise them before filling with jam. For details on this, have a look at Jamie Oliver's video. It's best to try to time it so that the jars will have been out of the oven for around 5 minutes before you fill them as hot jam into hot/warm jars makes for a good seal around the lid and no nasties can get into your jam.

For tips on how to spot when your jam is done, have a look at this BBC Good Food Video.


That's enough pictures of my muffins for now, even if they are covered in gorgeous jam! Here's the recipe for you to give it a go yourself.

print recipe

'Secret' Raspberry Jam
A deliciously simple raspberry jam, with a flavour-enhancing secret ingredient!
Ingredients
  • 1kg ripe raspberries
  • 1kg JAM sugar
  • 2 ripe flat peaches (or 1 regular peach)
  • Juice of 2 medium lemons
Instructions
1. Pop the sugar in an oven-proof dish in the oven with the sterilising jars to warm and pop a couple of saucers in the freezer to chill.2. Wash and remove any dirt or debris from the berries, then peel and chop the peaches finely. Add the fruit, along with the lemon juice into a large saucepan over a medium heat.3. Cook for a few minutes, until the berries have broken down and the peaches are soft. Mash the fruit against the side of the pan with a wooden spoon to help it along if required.4. Add the sugar and stir well until completely dissolved.5. Turn the heat up high and bring the jam to a fierce rolling boil. This needs to be a very intense boil, one that can't be stirred down with the spoon. Be very careful, if the jam spits and lands on you then it will hurt!6. Once a rolling boil is reached, start timing and boil the jam for 5 minutes. Remove the jam from the heat and test whether the jam is set, using the method shown above.7. If the jam is not set, boil for a few minutes more and test again, until it is ready.8. Pot up into warm sterilised jars and seal with the sterilised lids. Leave to cool completely.
Details
Prep time: Cook time: Total time: Yield: 3-4lbs jam

For more great preserve recipes, check out these from other food bloggers:


You can also check out my Pinterest board for great preserves from across the world!

Follow Kevin Chambers-Paston's board Preserving the season... on Pinterest.

I am entering this into the following challenges:


Elizabeth's Kitchen Diary

Sunday, 10 August 2014

London Day Out: Choccywoccydoodah, Bocca Di Lupo and More!

As some of you might know, it was my birthday a couple of weeks ago. I am now 26 and, believe me, that feels OLD!

My birthday present from Chris was a lovely day out in London, eating as much as we could and then enjoying a show. He had lots planned already, so all I had to do was attend and enjoy. Perfect!

We started the day on the train from Norwich in First Class. I say First Class as that's what Abellio Greater Anglia label it, but it still has to be the worst run train service with the dirtiest, most disgusting trains I have ever had the displeasure of having to use. If you want to see pictures of the filth and read about how the lights, coffee machine and speakers didn't work either, hop on over to Twitter as I posted it over there!

Following the two hours travelling, we started our day in London having a look around Carnaby Street with the end destination being the fabulous ChoccyWoccyDoodah. Probably best known for the TV series of the same name, they make beautiful cakes from moulding chocolate. They call themselves the 'cake bakers and dream makers' and from the moment you step in the door, you can see why!


The cakes on display are nothing short of beautiful! The designs are so incredibly detailed and well thought out, they feel almost magical in their appearance and you can't help but smile when you look at them! Can you believe all that is made from chocolate?!

The shop has a lot of smaller cakes and chocolate bars etc. for sale too. If you are a chocoholic (like me) then this shop is like heaven.

Upstairs from the main shop is the 'Bar du Chocolat' which essentially is a café serving hot chocolate and many, many types of cake. Of course, we couldn't resist this so went on up to fill ourselves with melted chocolate.

Chris had a white hot chocolate and a slice of chocolate cake and I had a milk hot chocolate and a slice of five layer cake (lemon, ginger, chocolate, coffee and coconut). 


The hot chocolate was essentially melted chocolate stirred into hot milk, served with cream and a chocolate cigarillo. However, it was probably some of the nicest hot chocolate I have ever tasted which I guess is due to the great quality chocolate they use.

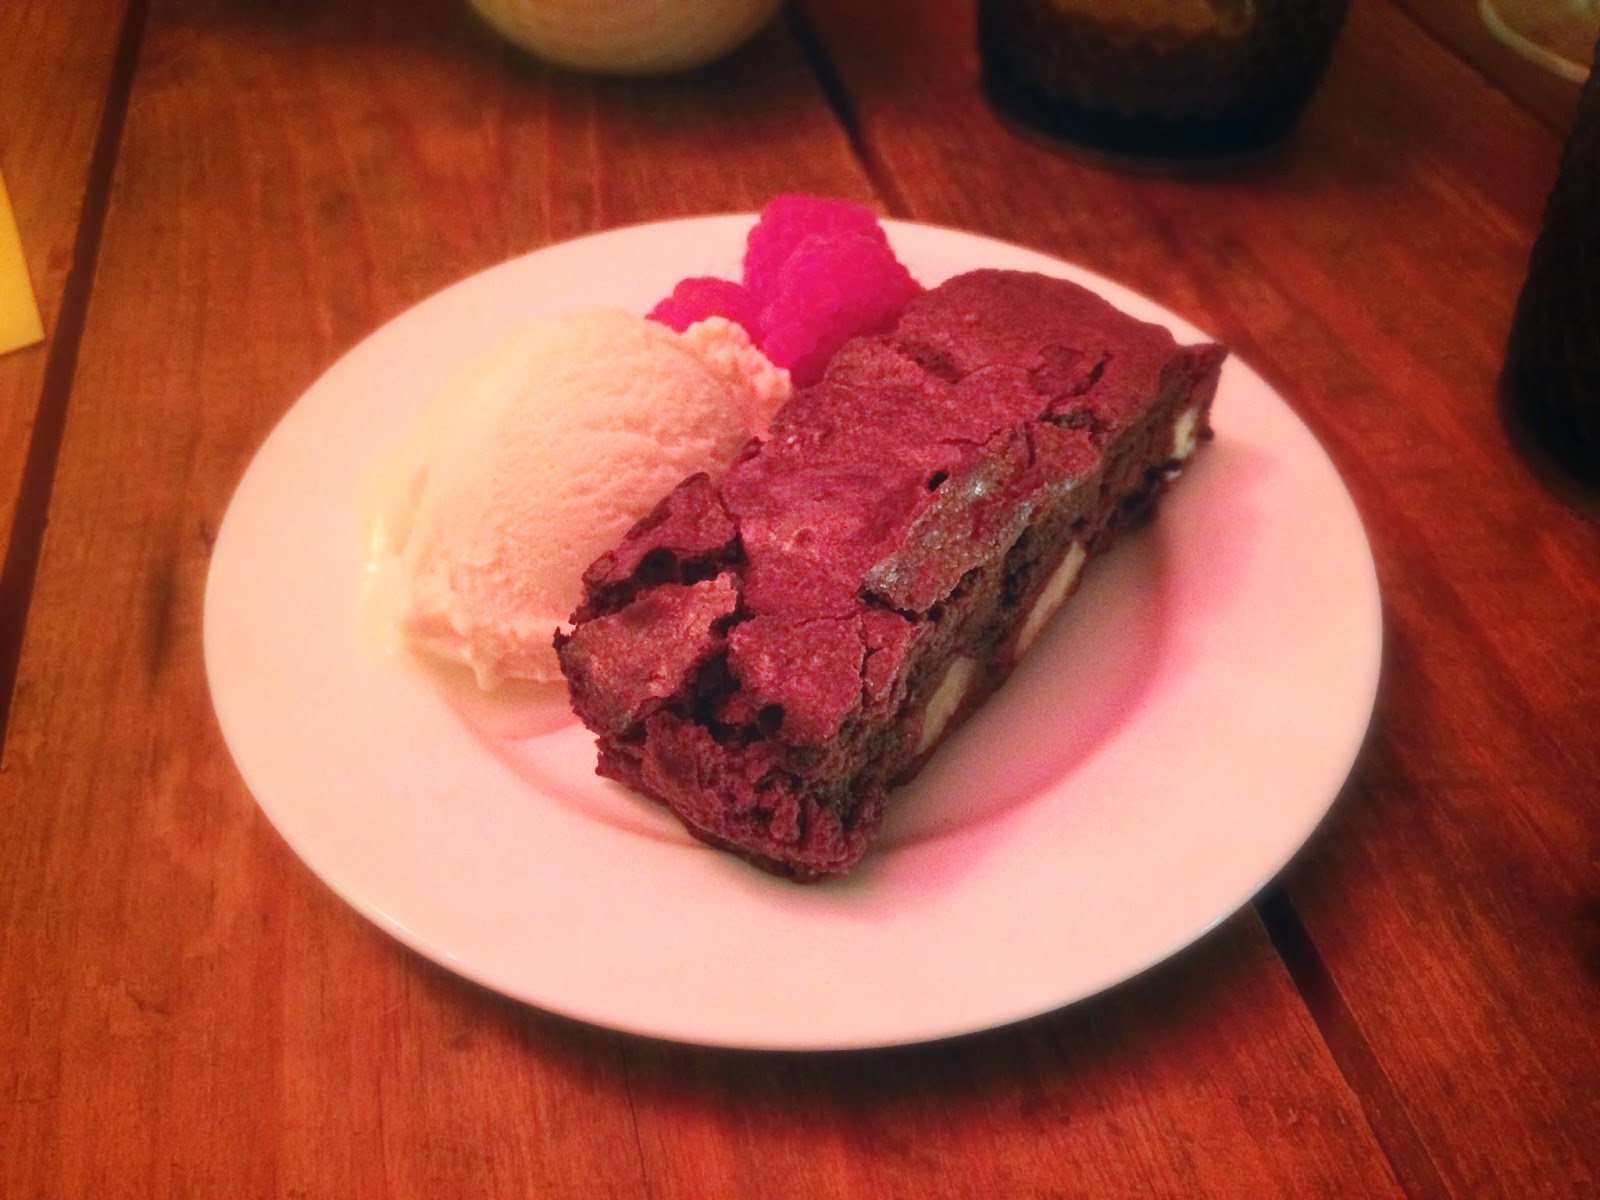
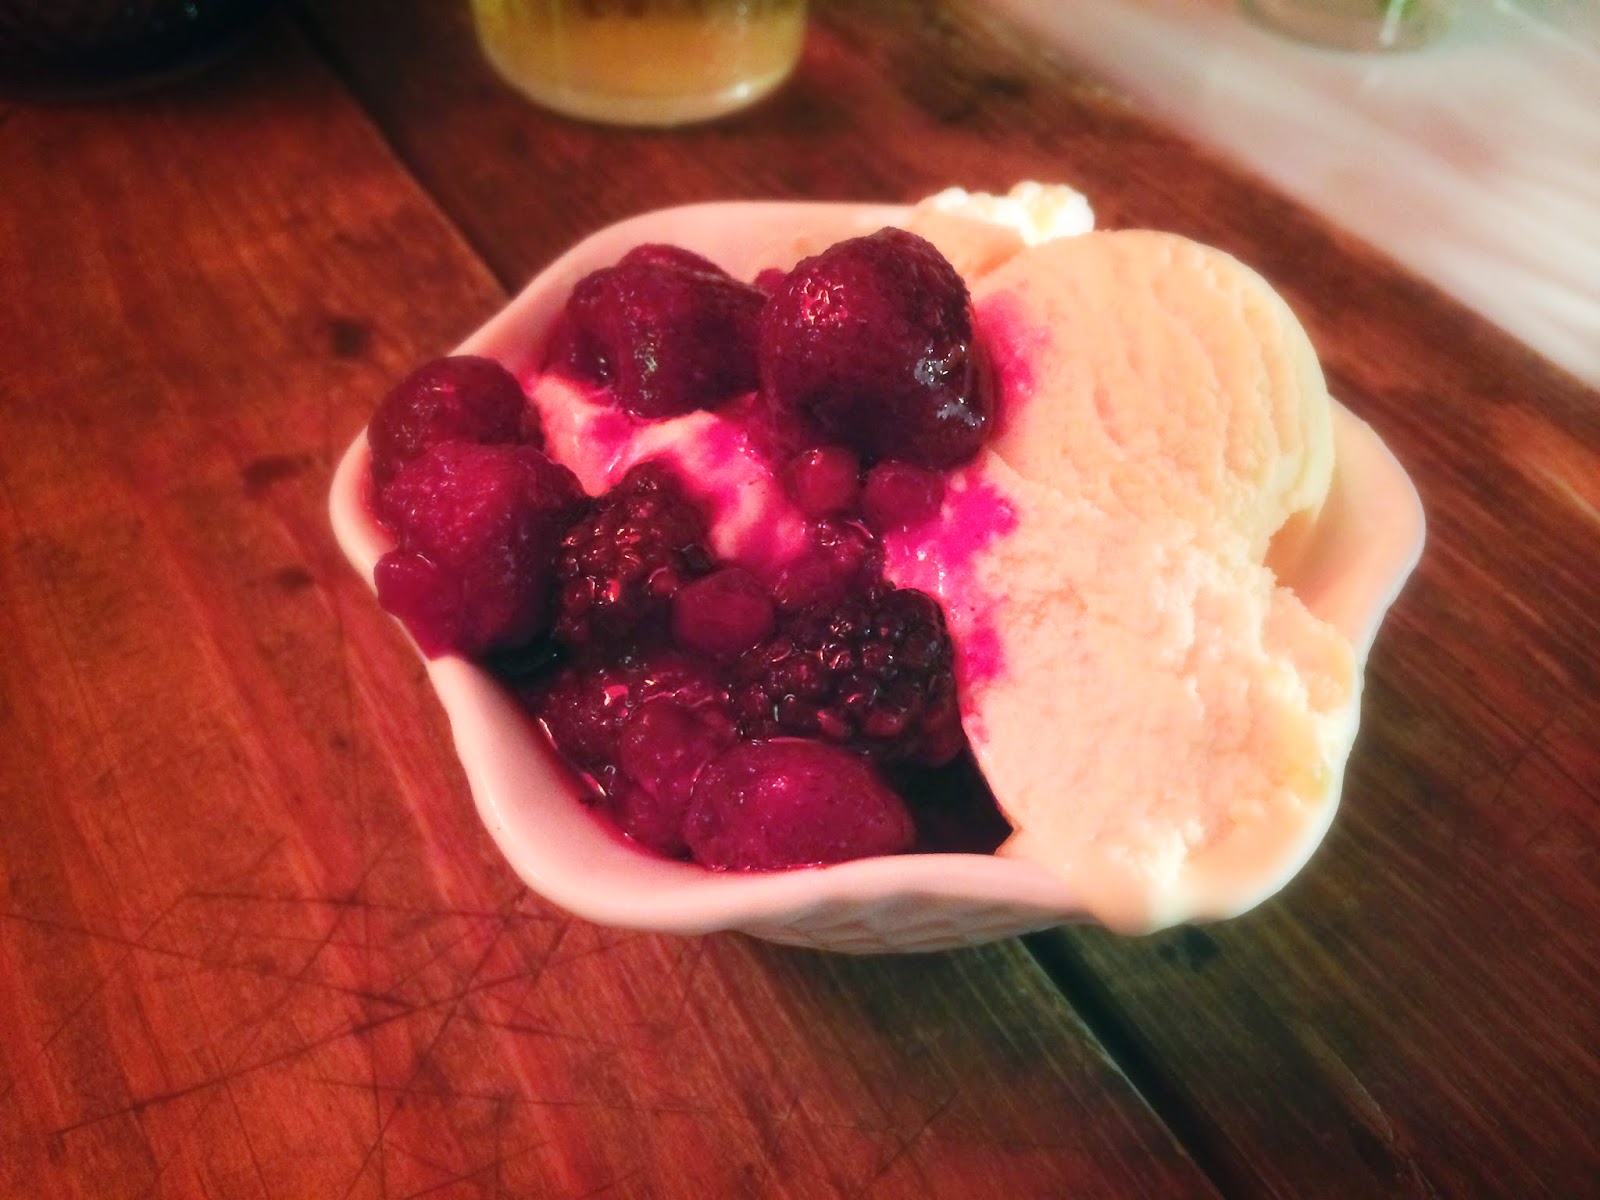
And then there was THE CAKE. Oh my god, THE CAKE. It was so so tasty. All of the flavours in my slice were distinct and delicious, held together with various truffles and ganaches which were again divine. All slices of cake are served with a scoop of vanilla ice cream and a drizzle of raspberry coulis which really help to cut through all that sweet, rich chocolate. Of course, it's drizzled with more melted chocolate too but that's a given, right?!

The service was really friendly and welcoming and I thought the prices were reasonable for the large portions we were served. In total, it was just under £17 for the two of us. Not expensive for an experience as indulgent as this!

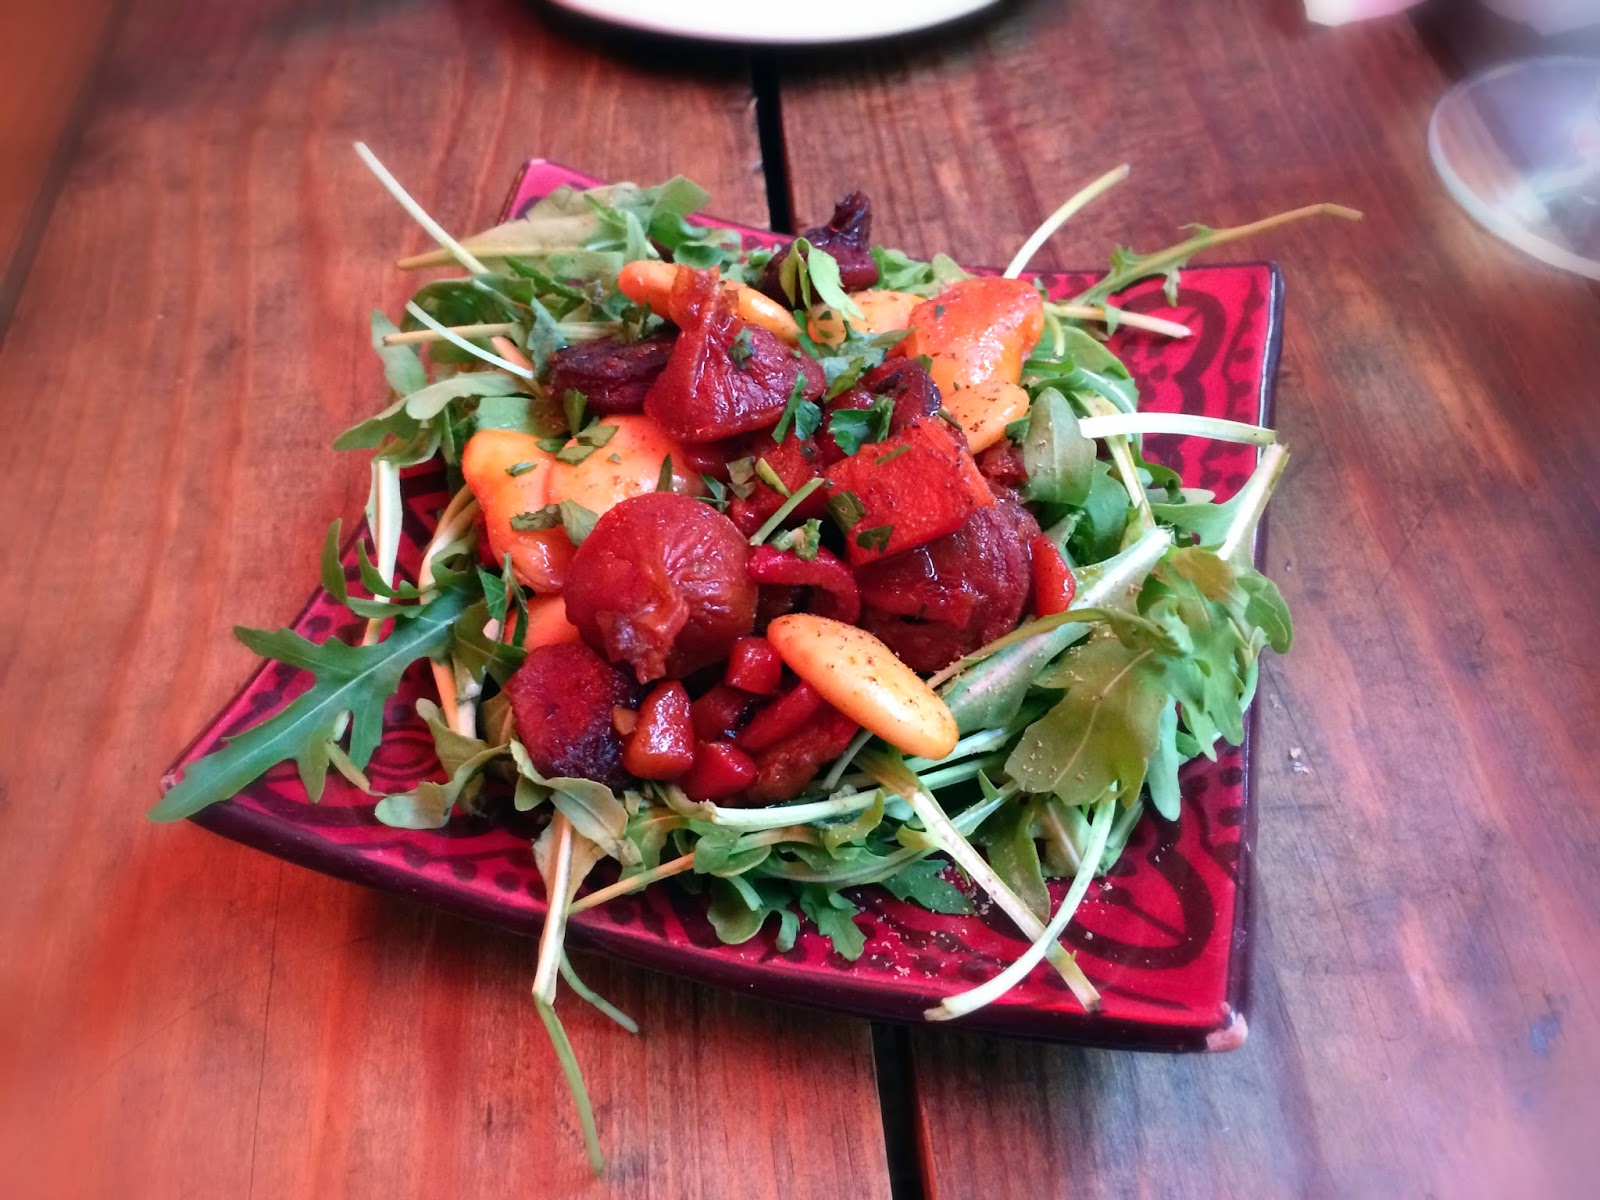
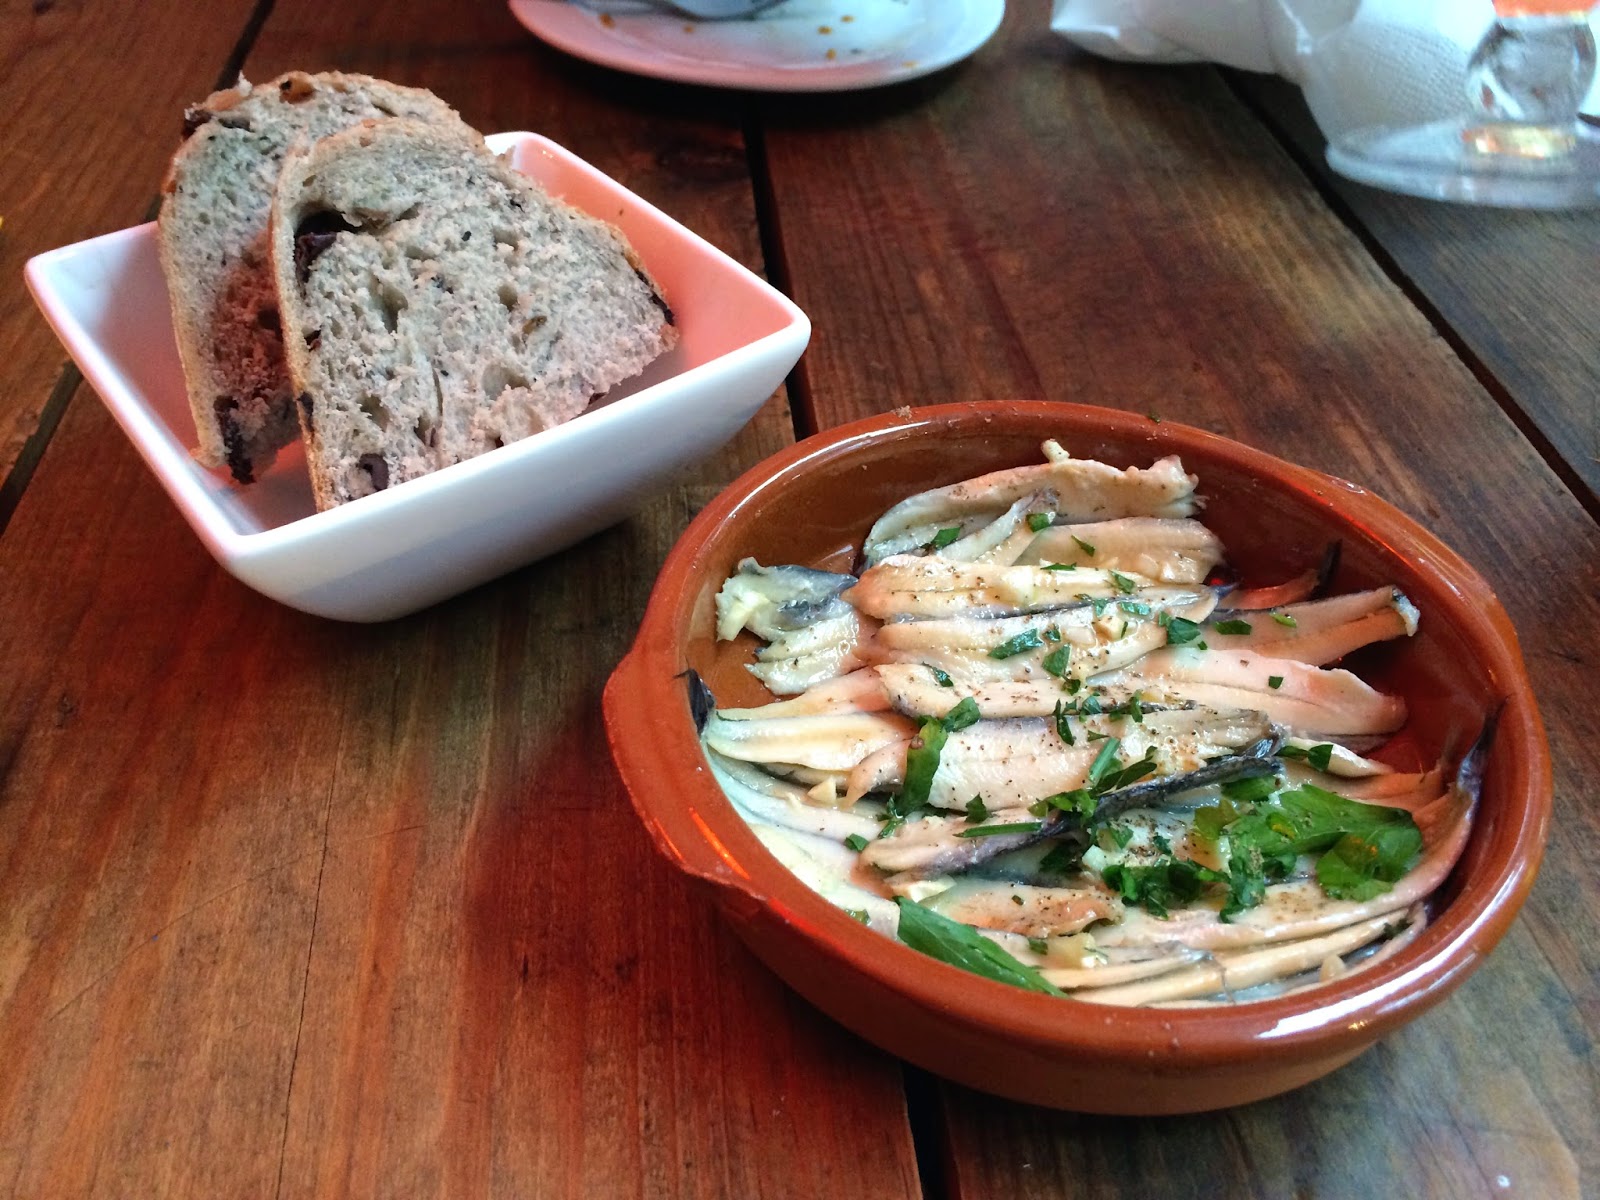
Once we'd eaten somewhere close to our own body weight in cake, we decided we should make a move. Chris had planned a visit to Borough Market; a little foodie paradise, just a stone's throw away from London Bridge. The market was filled with top quality cheese, salami, bread, fruit, veg, meat, fish and just about every other kind of food. If I lived in London, I could tell this would be a regular place for me to visit to get top notch ingredients when cooking for special occasions.

All around the market are street food traders selling curries, sandwiches, smoothies and even roast dinners! It was an excellent place to be around lunch time and we were spoiled for choice. In the end, we visited a little stall called Brindisa for their famous 'Chorizo Roll'.


I think we made a very good choice there! A split and grilled chorizo sausage, with roasted red pepper and peppery rocket. It was delicious, so much so that I was disappointed in myself for not ordering a double (with an extra chorizo and pepper!) but I will definitely be ordering that next time...

The afternoon was spent looking around various places in London. We visited the Natural History Museum which was a really enjoyable afternoon, even if I didn't get to see the dinosaurs as the queues were too long :(

Finally, it was time for dinner and we had a table booked at an award-winning italian just off Shaftsbury Avenue called Boca Di Lupo. We really enjoyed it here; the decor and service was really good and the food was delicious too. They have a pre-theatre menu which was cheaper than the standard menu, so we took advantage of this.

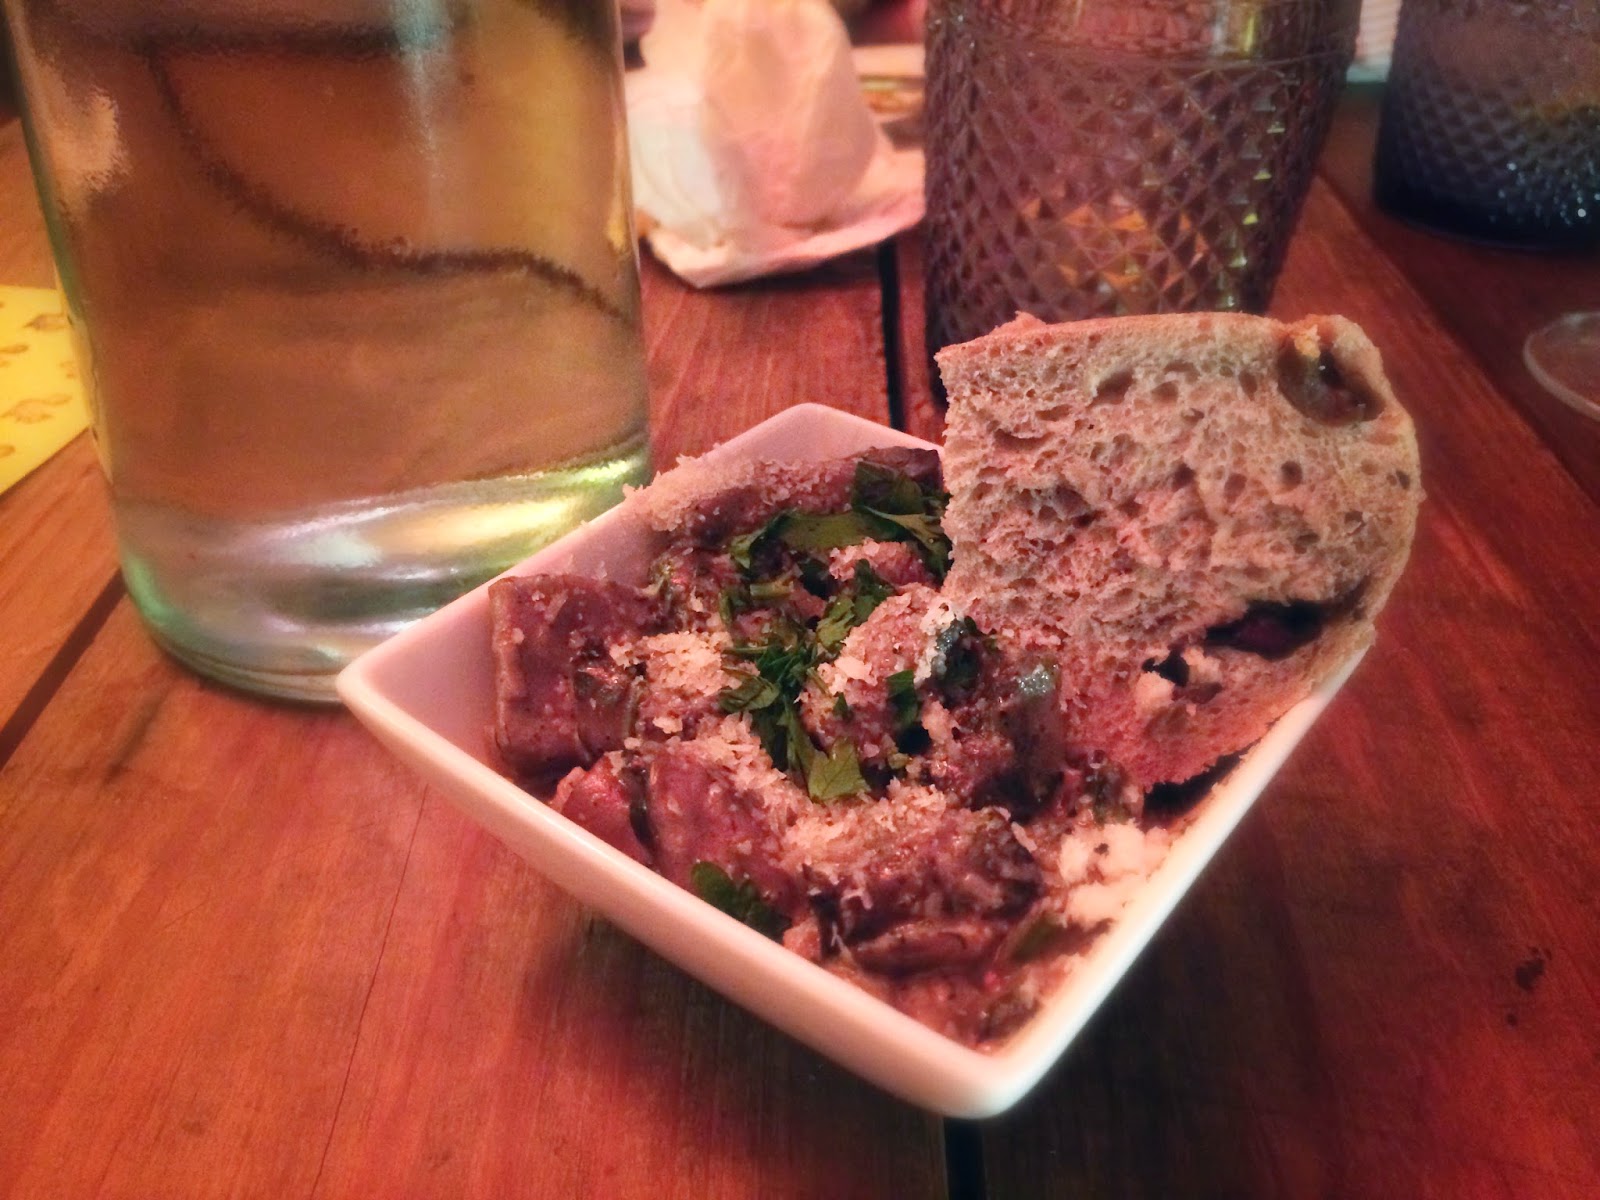
I ordered a pasta dish, with black pepper, guanciale (cured pork cheek) and tomato sauce. Despite being very simple, it certain packed a flavour punch. The pasta was cooked perfectly too, no sloppy spaghetti here!


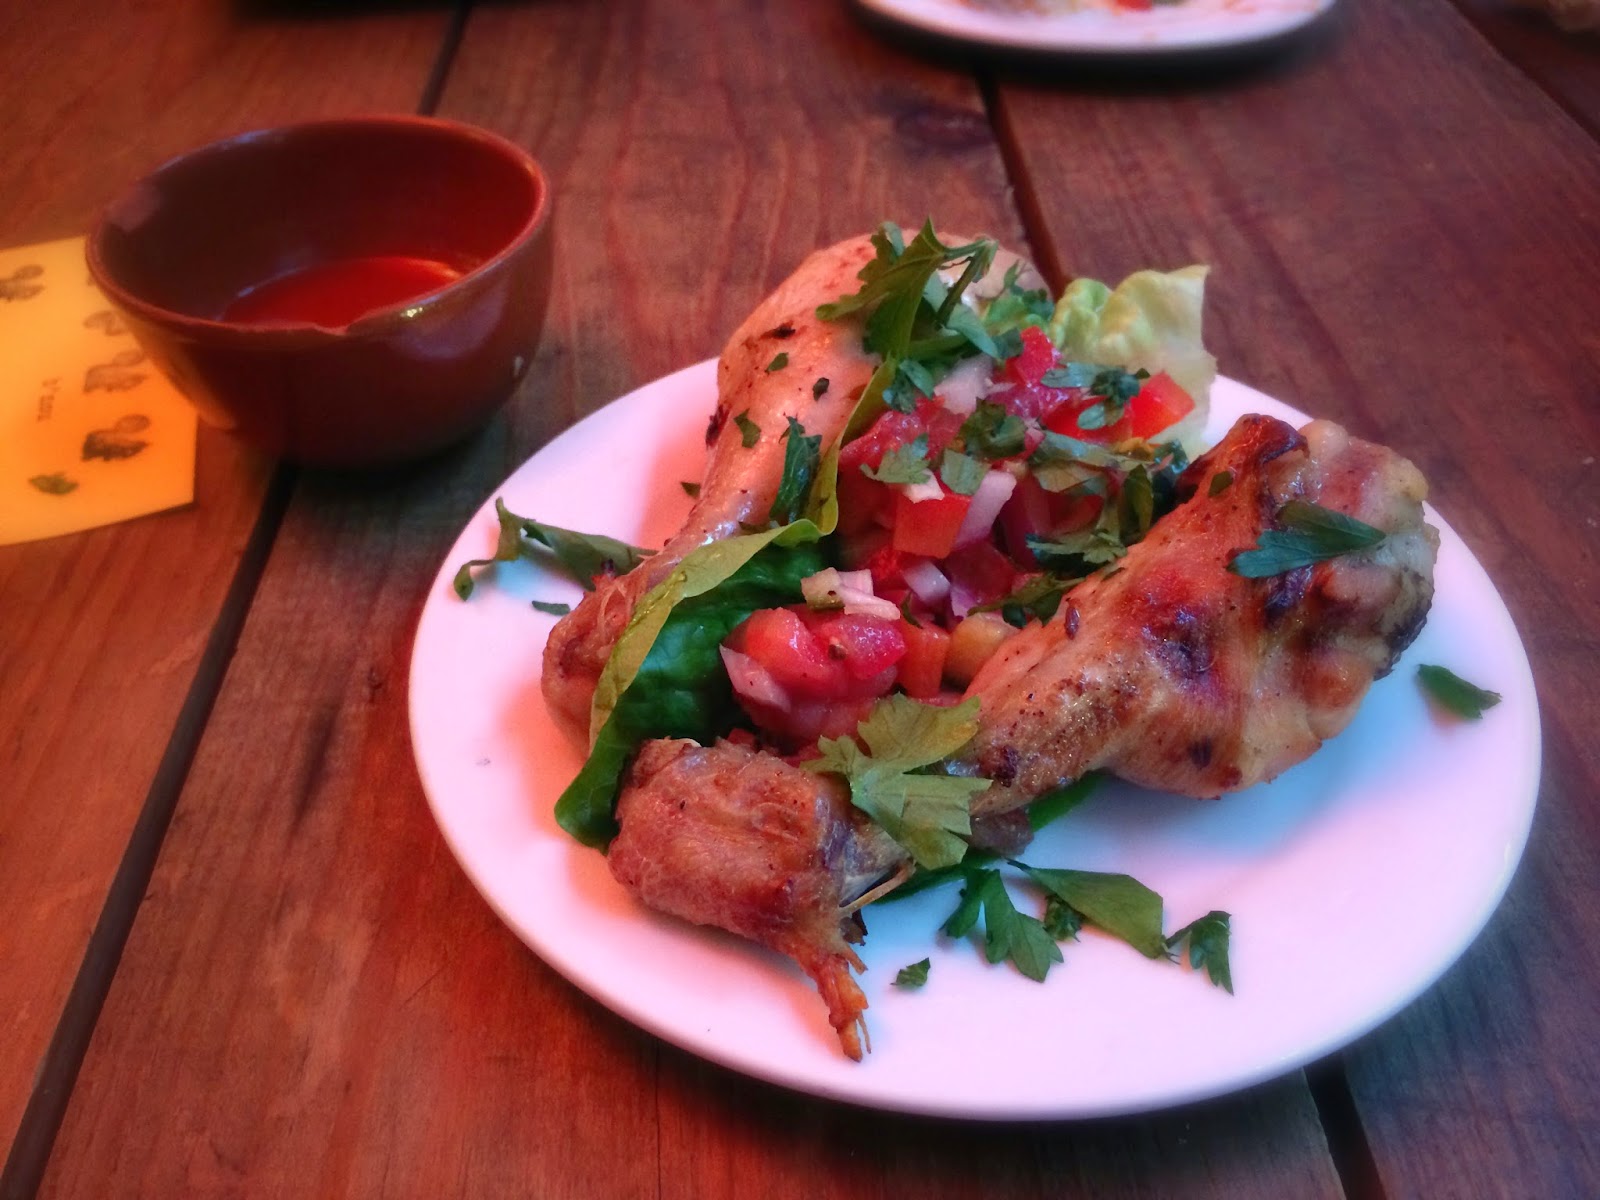
Chris tends to be a bit more adventurous with meat than I am, and he went for a dish with a roasted leg of rabbit. I didn't try this but again he said it was very flavoursome and certainly a bargain at the price we paid. His only slight criticism was that it was a little too spicy, though it did say it contained chilli on the menu, so I think that's his own fault...


All in all, I would definitely like to go back to Bocca Di Lupo. The staff made us feed very welcome and the food was good too.

Our day in London ended with a visit to the theatre to see Les Miserables. Quite simply, this is the best and most moving production I think I have EVER seen (and I have seen quite a few!) Anyone who likes musicals, or even some people who don't, should make the effort to go and see this; it will knock your socks off.


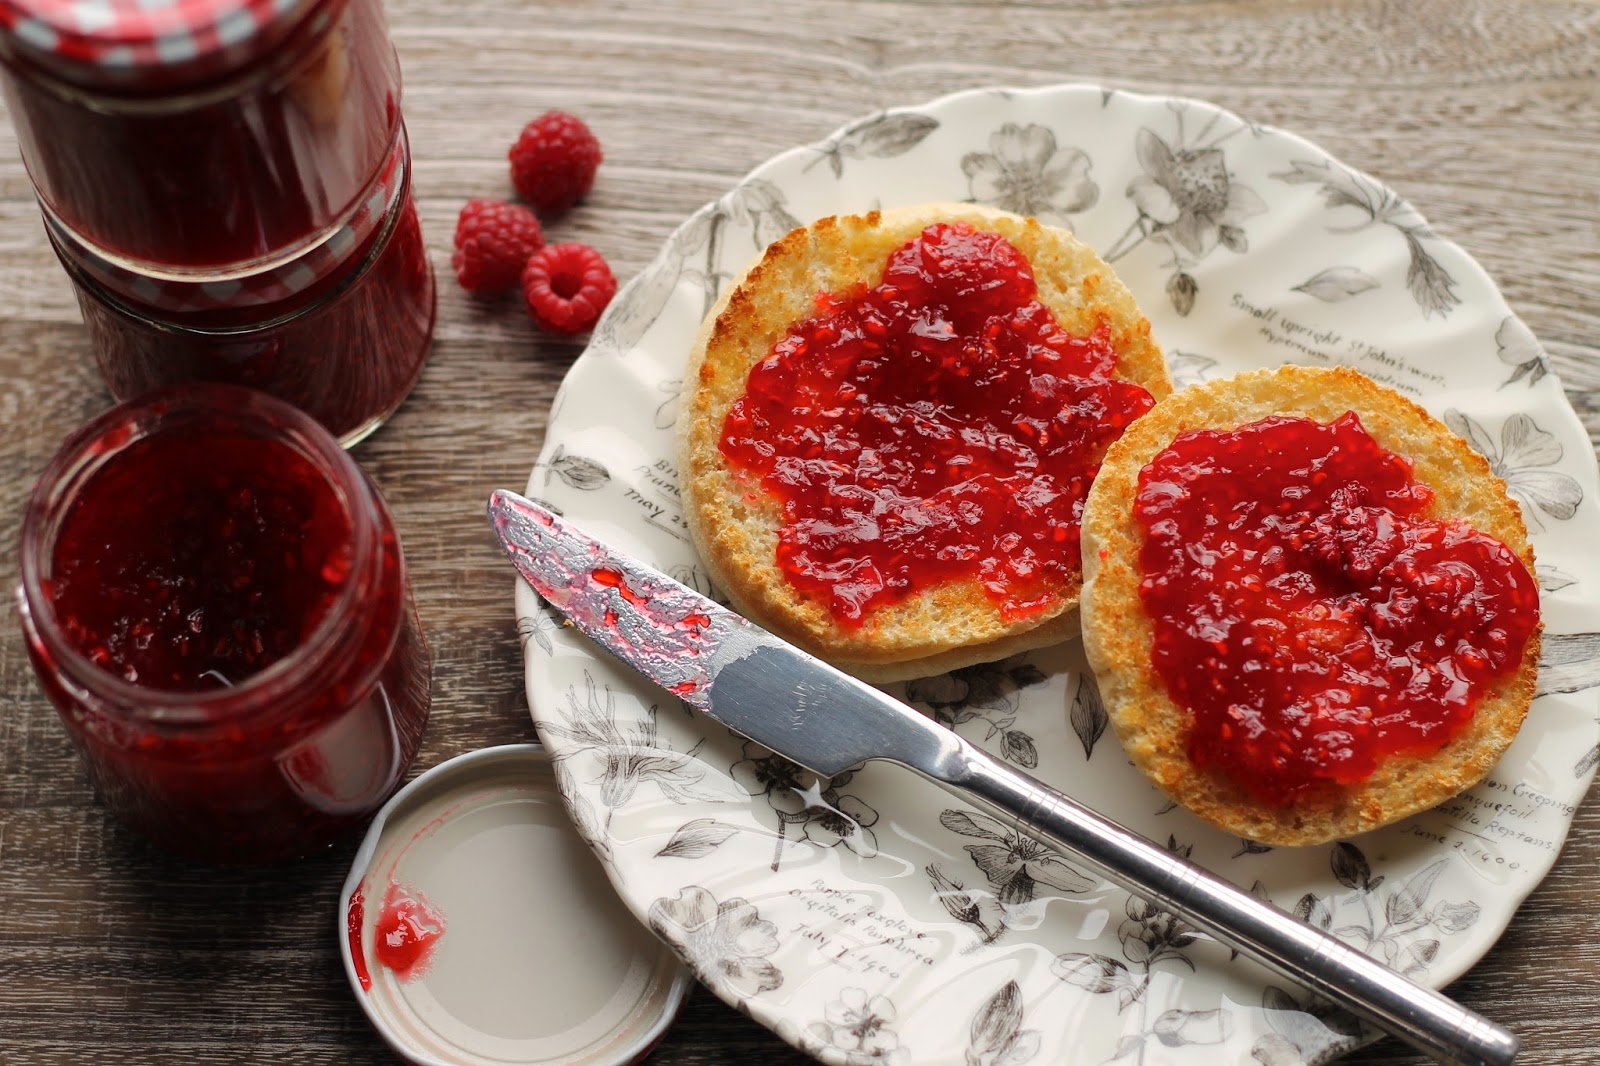
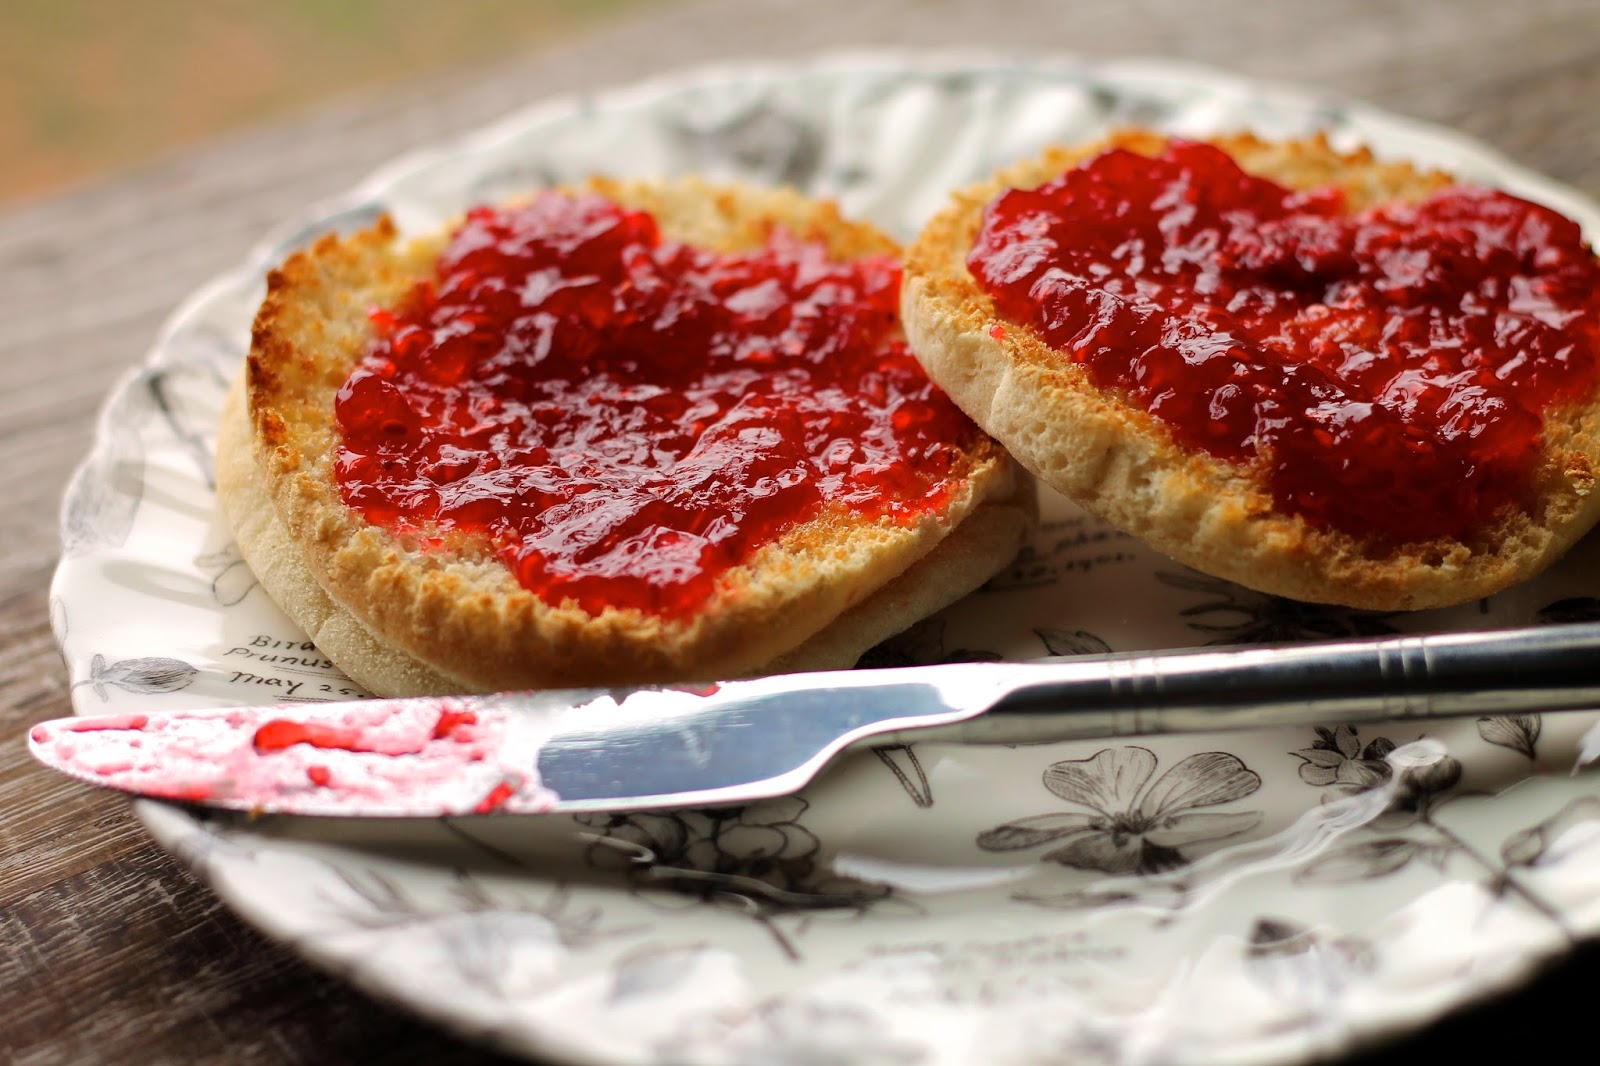
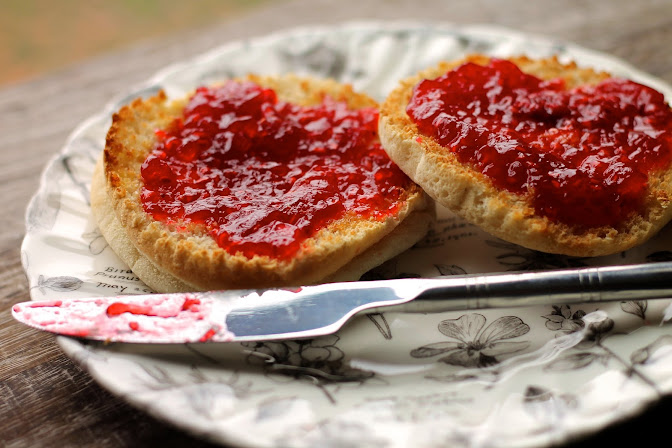
All in all, I had a fab day out and it was a lovely, thoughtful gift (as always). Yesterday, we went fruit picking and made a whole load of jam, so stay tuned for a few of my own jam recipes in the coming weeks!

Tuesday, 5 August 2014

Coconut Rice Pudding

This is one of my go-to desserts for the slow cooker. It is so easy and yet so delicious you will want to make it again and again!


I used my new Netherton Foundry slow cooker for this recipe again and was very impressed with its performance. It's the only slow cooker I have ever had that managed to get a good 'skin' on the top of the pudding, just like in the oven. (For me, this is the best bit!) Not only that, but I was very surprised at just how easy it was to clean, even when some of the rice had stuck to the bottom of the pot.

print recipe

Coconut Rice Pudding
A creamy rice pudding for the slow-cooker, made with the gorgeous flavour of coconut. Delicious served with a dollop of jam or some mango slices, heated in a sugar and rum syrup!
Ingredients
  • 1 tin coconut milk
  • 850ml full fat milk
  • 140g pudding rice
  • 3 tbsp caster sugar
  • 3 tbsp dessicated coconut
Instructions
1. Most slow cookers operate at a temperature that struggles to heat a large volume of cold liquid, therefore the milks should be heated before using. So, heat the coconut milk and milk in the microwave or on the hob until hot and pour into the slow cooker.2. Add the other ingredients to the pot and stir well. Cook on low for around 4-5 hours or on high for 1 hour then low for a further 1-2 hours or until cooked.
Details
Prep time: Cook time: Total time: Yield: 4-8 servings, depending on your appetite!

For more great slow cooker recipes, check out my board on Pinterest:

Follow Kevin Chambers-Paston's board Cookin' it low and slooooow... on Pinterest.

Sunday, 3 August 2014

Indian-Inspired Bread and Butter Pudding

This week I bought myself another new toy!

I do love a good slow cooker, so when I saw this one by Netherton Foundry, I could not resist! I already have 2 slow cookers, but this knocks the socks off them...


It's cast iron, so can go on the hob to start off the cooking if you like then just sit it on the base and allow it to cook away slowly. It is also by far the most attractive of all my slow cookers and the only one I could confidently take from cooking to the table to serve straight from the pot.

As if that wasn't enough, it is also made right here in Britain using traditional methods and local craftsmen so you can be sure you are supporting a small independant company rather than a faceless corporation. Top marks all round!

I'm looking forward to sharing all my favourite slow cooker recipes with you in the weeks to come. For now, here's my delicious indian-inspired bread and butter pudding...


print recipe

Indian-Inspired Bread and Butter Pudding
A traditional english dessert, with a twist of indian flavours!
Ingredients
  • 6-8 slices white bread
  • Enough butter to spread on the bread
  • 1 handful sultanas or raisins
  • 1 handful chopped cashews
  • 1 tsp cinnamon
  • 4-6 cardamom pods, seeds only, ground (depending on how much you like the flavour!)
  • 3/4 pt full fat milk
  • 2 medium eggs
  • 2 tbsp caster sugar
Instructions
1. Cut the crusts off then butter the bread. Cut into small squares and place in a bowl.2. Add the sultanas or raisins and cashews to the bread, mix well but gently to ensure bread does not break up. Place into the bowl of a slow cooker that has been greased with a little butter.3. In a jug, combine milk, eggs, cinnamon and ground cardamom thoroughly before pouring over the bread in the slow cooker. Sprinkle over the sugar and a little extra cinnamon, if desired.4. Cook on low until a knife inserted into the centre of the pudding comes out clean and the bread is browned at the edges. Usually 2-3 hours, but all slow cookers vary.
Details
Prep time: Cook time: Total time: Yield: 4 servings

For more great slow cooker recipes, check out these blogs:

Saturday, 2 August 2014

REVIEW: b'nou, Norwich

After our disappointing visit to Jamie's Italian last week, when Chris suggested we went out to dinner last night I wanted to make sure it was going to be something special.

I took to TripAdvisor and began to search for interesting places with a good rating. That's when I found b'nou (pronounced buh-noo, if you were wondering; and no, it doesn't mean anything, it's completely made up in the mind of the niece of one of the owners!). It's not even been open for 2 months yet but all the reviews were 5*. Good start.

I then read the reviews and discovered this is more than your average restaurant. You see, they don't have a menu. That's right, you don't get to order what you'd like from a pre-set menu but rather the tapas-style dishes are cooked 1 at a time in the kitchen and then brought round the tables. The dish is described to you, and you then decide whether or not you want to take it. All dishes are a very reasonable £4, and you carry on until you are full or they run out of dishes! It all kicks off at 7:30 and the table is yours for the night. We didn't leave until around 10:15.

Of course, not knowing what is coming next could make it difficult to decide whether you want the dish in front of you. Not for us though, we pretty much had them all! That's the beauty of tapas; you can have more variety as the dishes are smaller. Not sure you're really supposed to eat as much we did, but you only live once, right?

So, that's the concept. I was worried it had the potential to be a bit gimmicky, relying on the unique concept with just average food on offer. Boy, was I wrong!

First Impressions
I knew I was going to enjoy this meal as soon as I walked in the door. The decor is a fab mix of vintage and modern in a way that works really well. It has a really interesting feel to it, and the atmosphere was great even though most of the diners hadn't arrived yet. The tables are all at different levels which makes the small space seem much less crowded and adds interest.


The decor carries through even to the toilets. These were absolutely spotless, with not a spec of dirt to be seen. Dirty or unsightly toilets in restaurants are one thing sure to stop me going back there again, but this was so clean you could eat in there! (If you really wanted...!) 10/10

Service
For me, this was one of many outstanding features of b'nou. The owners Ben and Anna are so friendly, warm and inviting. They make sure your experience can be nothing but positive and, in particular, Ben was very good as ensuring my glass was never empty for long! 

When the dishes presented, you never feel pressured into having to say yes. On the (rare) occasions we didn't want a dish, it was just quickly taken to the next table with no fuss. Perfect, laid back dining. Another 10/10.

The Food
I'm afraid this is going to be a pretty long section, since we ate SO much! I'll try and group the dishes together so you're not asleep by the end...


The dishes began with a delicious bruschetta with marinated tomatoes and feta cheese. This was lovely, with a little chilli kick; just right to whet the appetite for the food to come. The tomatoes were quite a bit like my chimichurri (stay tuned, I'll share that recipe soon).

We followed this with marinated filleted whitebait with vinegar and garlic and kalamata olive bread. It was quite brave of us to order this, as we don't tend to like fish that is too 'fishy'. Nevertheless, we gave it a go. I wasn't keen (too fishy!) but Chris loved it and polished off the whole bowl, to my amazement.

Next up was a warm salad with chorizo and butter beans. Simply delicious, not much more to say on that!


Deep fried camembert was next. Simply coated in breadcrumbs and fried to perfection, served with a red onion marmalade. Delicious!

Given my aversion to sweet flavours in savoury dishes, I was surprised just how tasty I found the honey roasted free-range chicken legs. They were good, and still really moist, not overcooked like chicken legs so often are.

Then we were given some southwest wraps; a mix of veg (peppers, sweetcorn, halapeños and more) in a deep-fried wrap, served with a hot sauce. When they say hot, they definitely mean hot. It had a kick and a half!


For many, I think the highlight of the night would have been the fish and chips. Brilliantly moist fish, in a light and crispy batter served with chips and a dip. Yum!

Next was chicken cacciatore, with wine, tomatoes and olives as well as more of that lovely olive bread.

The chilli con carne was cooked with cubed beef shin rather than mince, which I believe is actually the traditional way to cook it! Either way, it was very nice and the beef was falling apart as it was so tender. An unusual twist of flavour at the end of this too; I think it was a little cinnamon, but can't be sure!


The final two dishes were portobello mushrooms cooked in a white wine and garlic sauce and spiced, minced lamb. The mushrooms were one of my favourite dishes of the evening. By this point, we were pretty full but the smell of the lamb was all too tempting. This too was full of flavour and again, we polished off the lot.

Once finished with the savoury dishes, we let Anna know and she told us the dessert options; lemon panna cotta, summer berry compote with vanilla ice cream or chocolate brownie. Of course, we couldn't decide so we went for one of each!


All 3 desserts were, again, beautiful. The panna cotta was deliciously smooth and creamy with just the right amount of wobble, whilst the brownie had a crunchy top and a nice addition of nuts through it. The compote was nicely tart, which complimented the smooth vanilla ice cream perfectly.

When you accept a dish, a stamp is added to the card on your table. I'm almost ashamed to say that our card almost ran out of space for stamps...


All in all, an excellent variety of food. All very well cooked and each as delicious as the next. Couldn't be anything but 10/10.

Value For Money
The danger with fixed price dishes is that some will always be worth more and some slightly less. However, there was not a single dish we ate that we would not have happily paid £4 for. All in all, the bill was just over £76 for the two of us with drinks but without the tip. I can't see how anyone could say that wasn't excellent value for all that food! 10/10

Overall
As you have probably guessed by now, I love this restaurant. I would not hesitate to send ANYONE there for a meal. It's a really different dining experience and was thoroughly enjoyable from start to finish.

It is clear from looking at reactions of people walking past there is a real buzz in Norwich about this place. The amount of people who came in wanting a table could have filled the restaurant 3 times over. I really hope this continues and Ben and Anna keep up the excellent standards of this restaurant; it is a real gem!

I have been racking my brains ever since leaving the restaurant for something negative to say or something to knock points off for, but I just can't. I could eat there every night for a month and would be assured of delicious and different food day after day. For that reason, I'm giving b'nou  10/10!

So, if you are in Norwich or you want to visit, I would wholeheartedly recommend you give b'nou a try. Don't forget to call and book a table though, they are gonna be oh so busy!

P.S. as we went up to pay Ben told us that the record for 2 people currently stood at 13 dishes. We ate 14 so we are now record holders too. Go us!

Disclaimer: I was not paid to review this restaurant and they were not aware I would be blogging about my visit. My experience, therefore, represents one of an average customer paying full retail prices. Views expressed are my own personal opinions.
"; n.innerHTML = at; container.insertBefore(n , footer); } } return true; }; document.doAT('hentry');
Related Posts Plugin for WordPress, Blogger...

Other interesting websites